I love to bake, but cakes are certainly not my forte. The last time I tried making a cake from scratch was last year while my in-laws were staying with us during the summer. In an attempt to impress my mother-in-law, I made Ina Garten’s coconut cake. It was a total fail. It came out weighing ten pounds (or at least it felt like it), was ridiculously dry, and didn’t even taste like coconut. I was to blame, not the recipe. My mother-in-law was the only one to request a second piece because she liked to have dry desserts with her tea. Bless her heart, no wonder why I love her so much.
With a bit of hesitation I dared try to make a homemade birthday cake for Maysoon. First I searched foodgawker to no avail. Then I headed over Annie’s Eats because I have had good results from her recipes. Sure enough she had the yummiest looking cake that didn’t require so many difficult additional steps like others I had seen. The more steps, the more chances for me to wreck the cake.
Here goes nothing…
Mini bakers, ready?
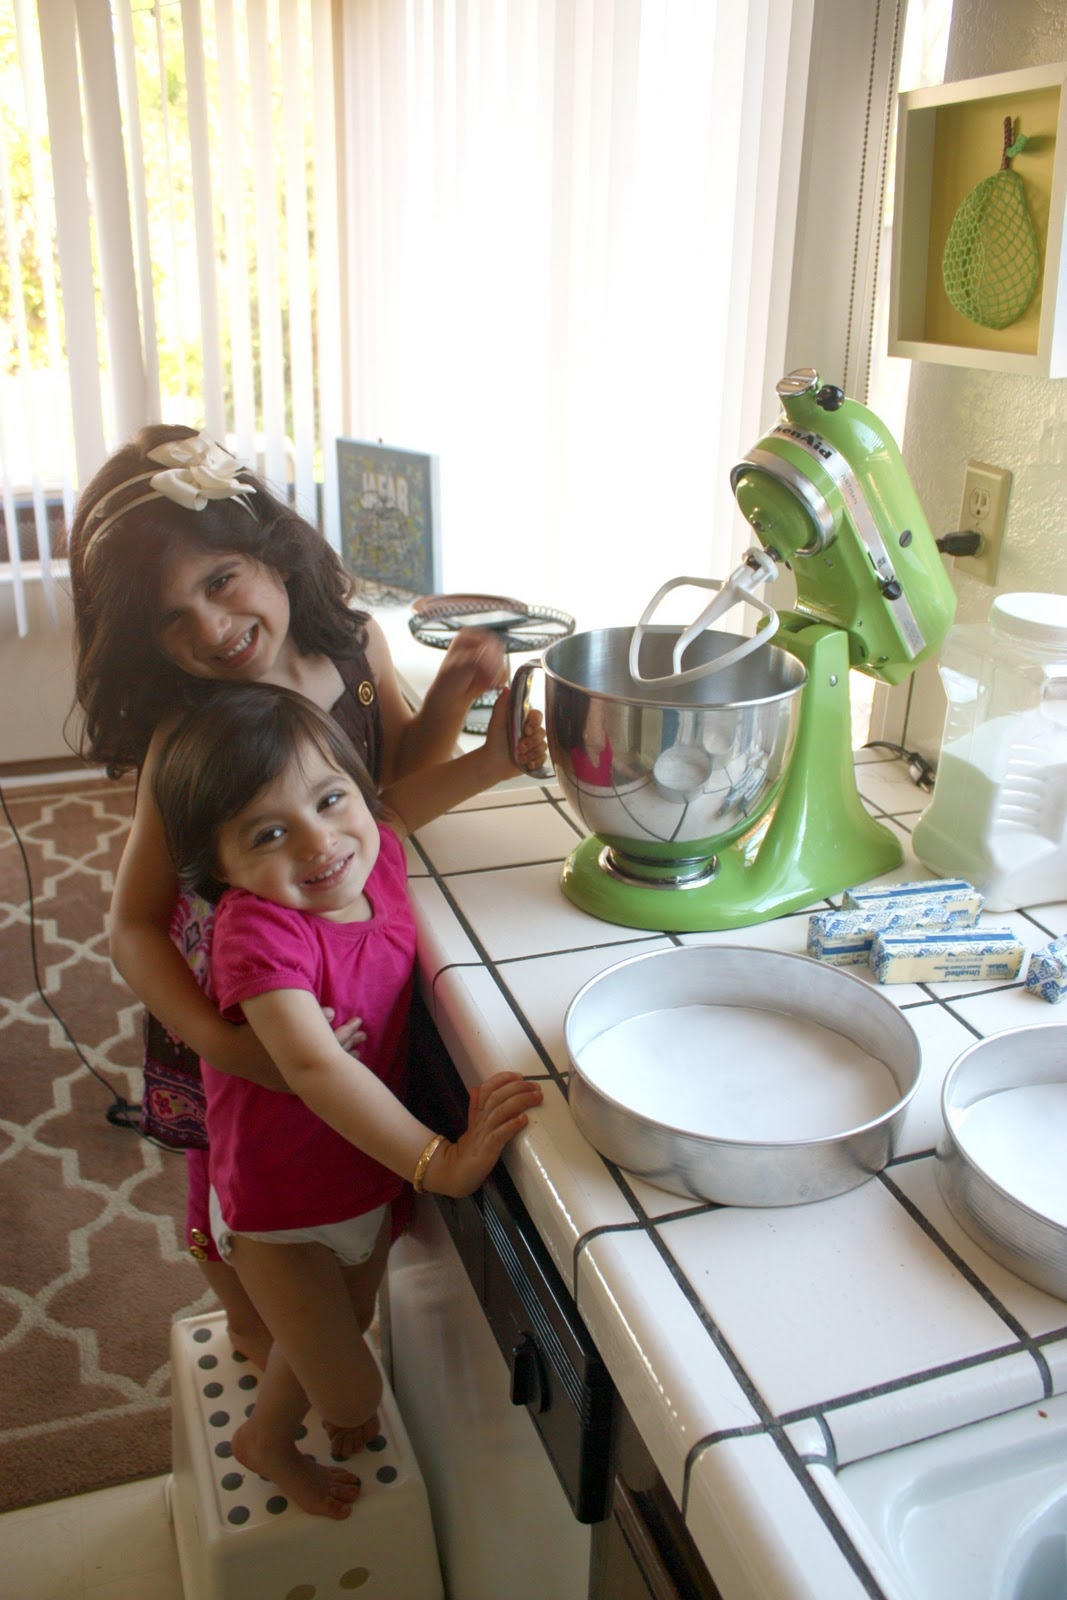 |
| Okay girls, the recipe doesn’t call for any cheese. |
Yellow Butter Cake {via Annie’s Eats}
Ingredients:
2 sticks (1 cup) unsalted butter, at room temperature, plus more for greasing pans
1 1/2 cups all-purpose flour, plus more for dusting pans
1 1/2cups cake flour
1 tbsp. baking powder
1/2 tsp. salt
1 3/4 cups sugar
4 large eggs
2 tsp. vanilla extract
1 1/4 cups milk
Directions:
To make the cakes, preheat the oven to 350˚ F. Line the bottoms of two 9-inch round cake pans with parchment paper. Butter and flour the edges of the pans, tapping out the excess; set aside. In a medium bowl, combine the all-purpose flour, cake flour, baking powder, and salt; whisk together to blend well and set aside.
In the bowl of an electric mixer, combine the butter and sugar. Beat on medium-high speed until light and fluffy, about 4 minutes, scraping down the bowl as needed. Mix in the eggs one at a time, beating well after each addition. Blend in the vanilla. With the mixer on low speed, add in the dry ingredients in three additions, alternating with the milk. Beat each addition just until incorporated.
Divide the batter between the prepared baking pans. Bake, rotating the pans halfway through baking, until the cakes are golden and a toothpick inserted in the center comes out clean, 30-35 minutes. Transfer the pans to a wire rack and let cool 20 minutes. Run a knife around the edge of the pans to help remove the cakes. Invert the cakes onto the rack and peel off the parchment. Let the cakes cool completely before frosting. Level the cakes if necessary.
To assemble the cake, place one of the cake layers on a serving platter. Top with 1 cup of frosting and smooth over the top of the cake. Top with the remaining cake layer. Frost the top and sides of the cake with the remaining frosting as desired. Refrigerate, covered, for up to 3 days. Let come to room temperature at least 30 minutes before serving.
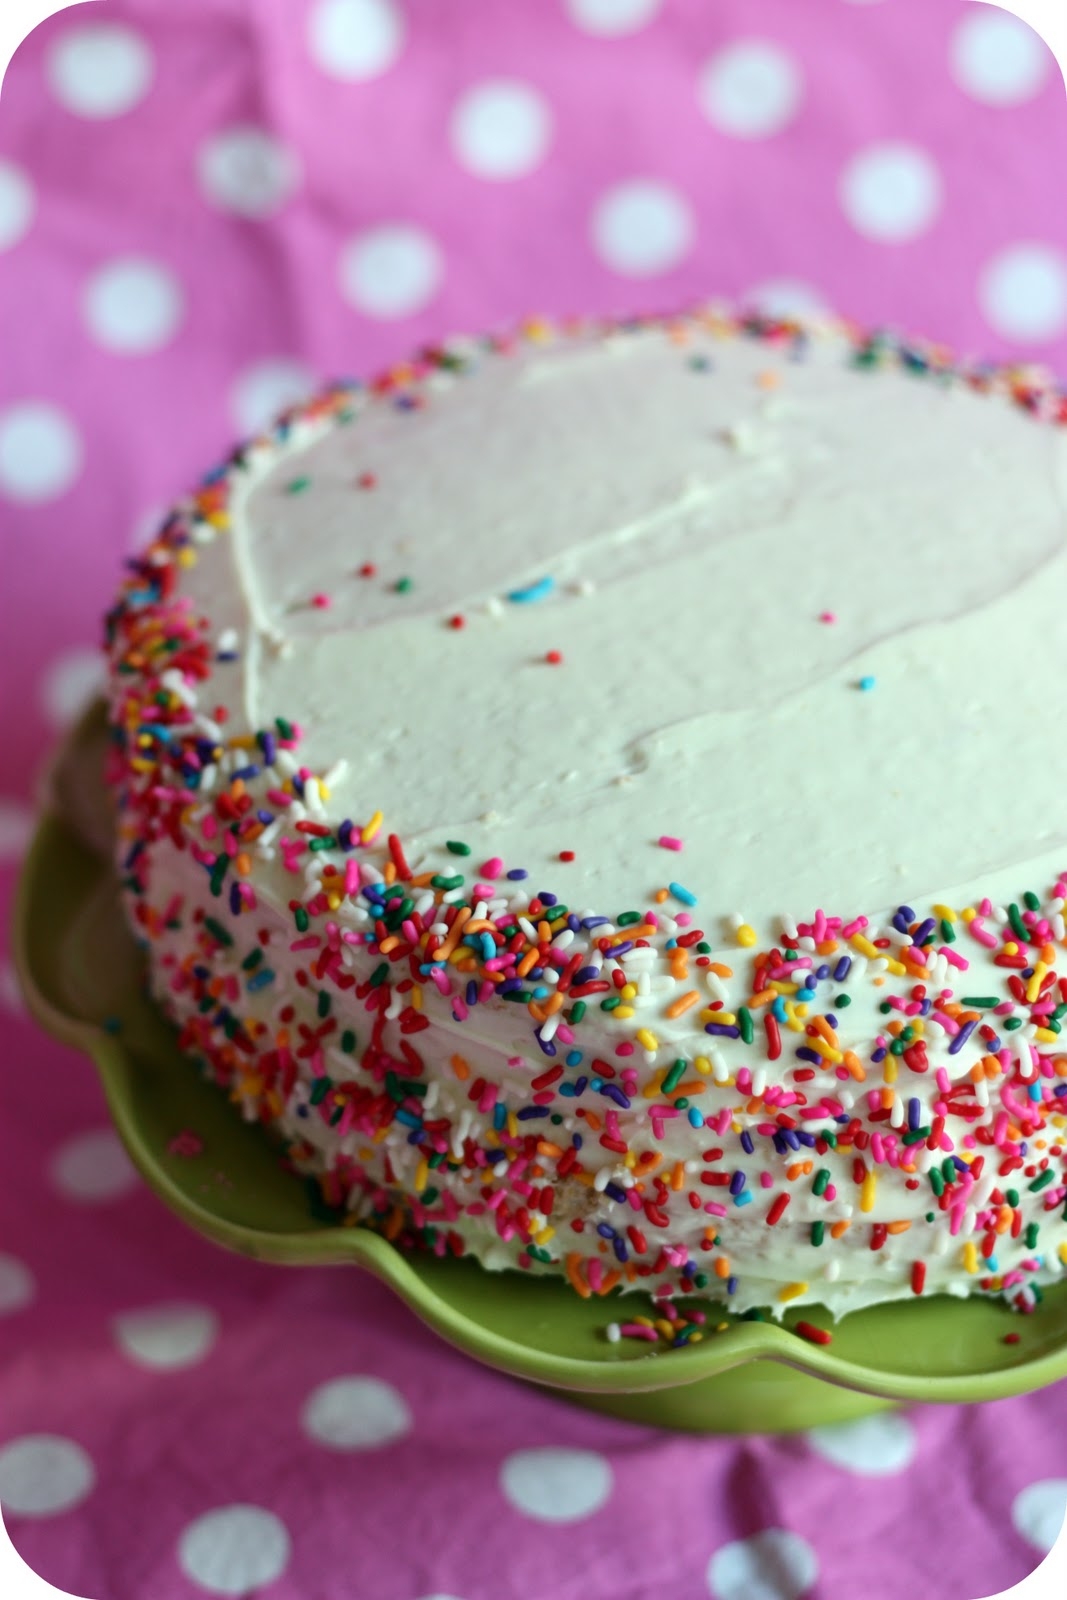
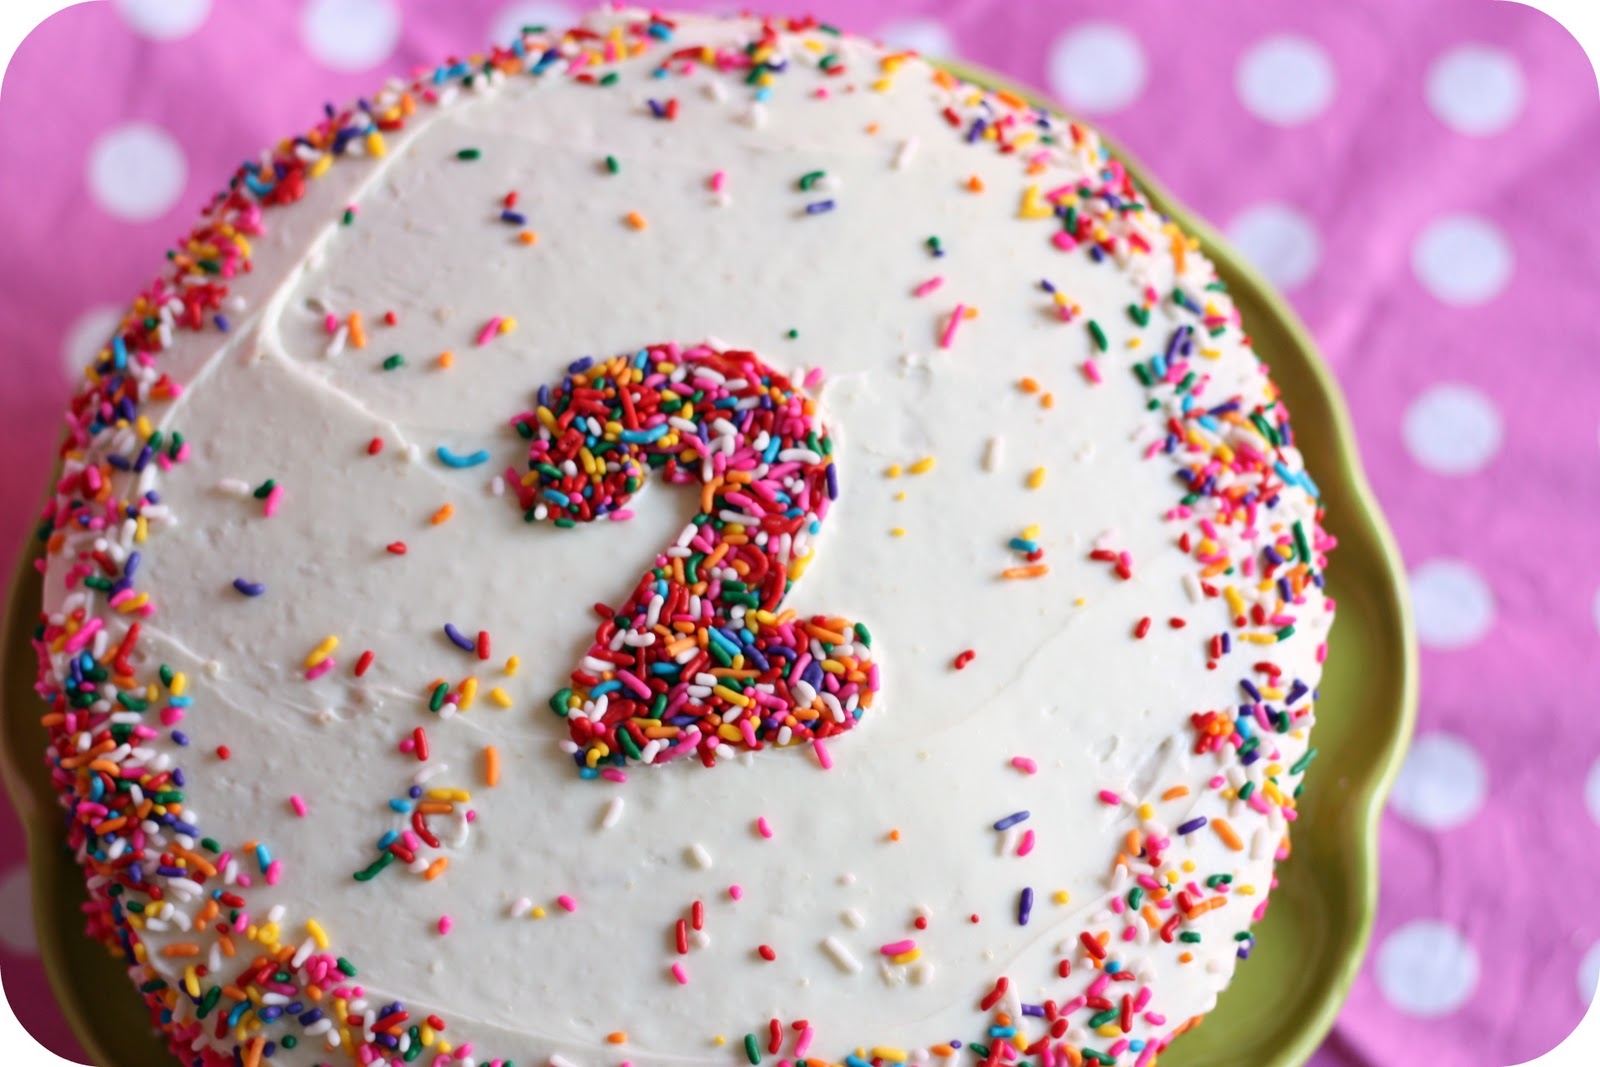
Unfortunately I didn’t have time to make the chocolate frosting that she posts along with this recipe (you can find it on her blog). I regret not making more time to do so. I used strore bought frosting that affected the final effect of the cake.
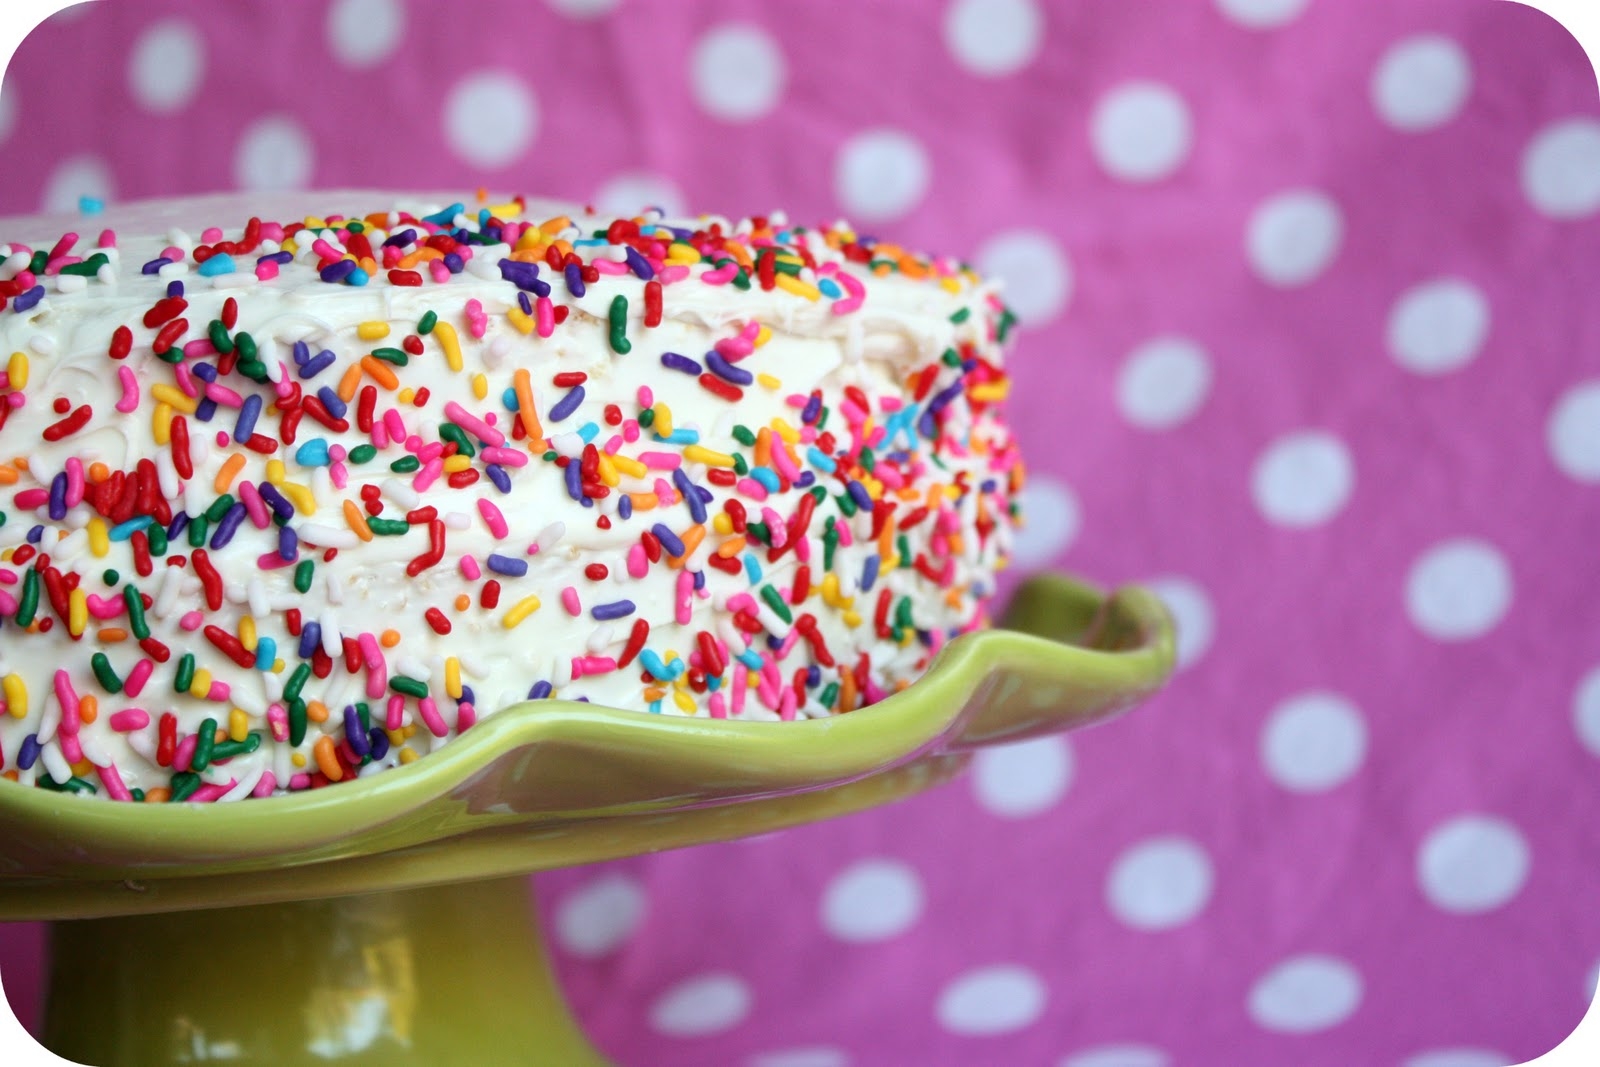
The result:
It was delicious! I seriously couldn’t believe it. I had finally made a cake that people actually wanted to eat. It came out very moist and the recipe was quite simple. I will make this cake again. Seriously, there is something so rewarding about homemade baking. Especially when it’s done with my sweet little girls.

What a neat post! Looking forward for more post from you. Thank you for sharing!
MashaAllah!!! That's one pretty cake! Happy B-Day
to your little one.
Looks great! Thanks for the recipe! Love the picture of the girls helping you in the kitchen.
I love it. The sprinkles 2 is perfect, mashaAllah! Happy Birthday to Maysoon.
Happy birthday!! that cake looks great and I love the 2. I also learned a new word MashaAllah and looked up what it meant.
that cake is fantstic!! and i love the sprinkles! your lil girlies are too cute!!
Awwww I want to be just the kind of mummy you are! Someday inshaAllah =) Happy belated birthday to Maysoon <3
Oooh mashaAllah looks so yummy, I have not had cake in awhile but inshaAllah will have to try this recipe and your pics look nice, very bright and colorful 🙂
Masha’Allah this is SUCH a precious and colorful cake! Beautiful pictures and beautiful blog, so glad I stumbled upon it! 🙂
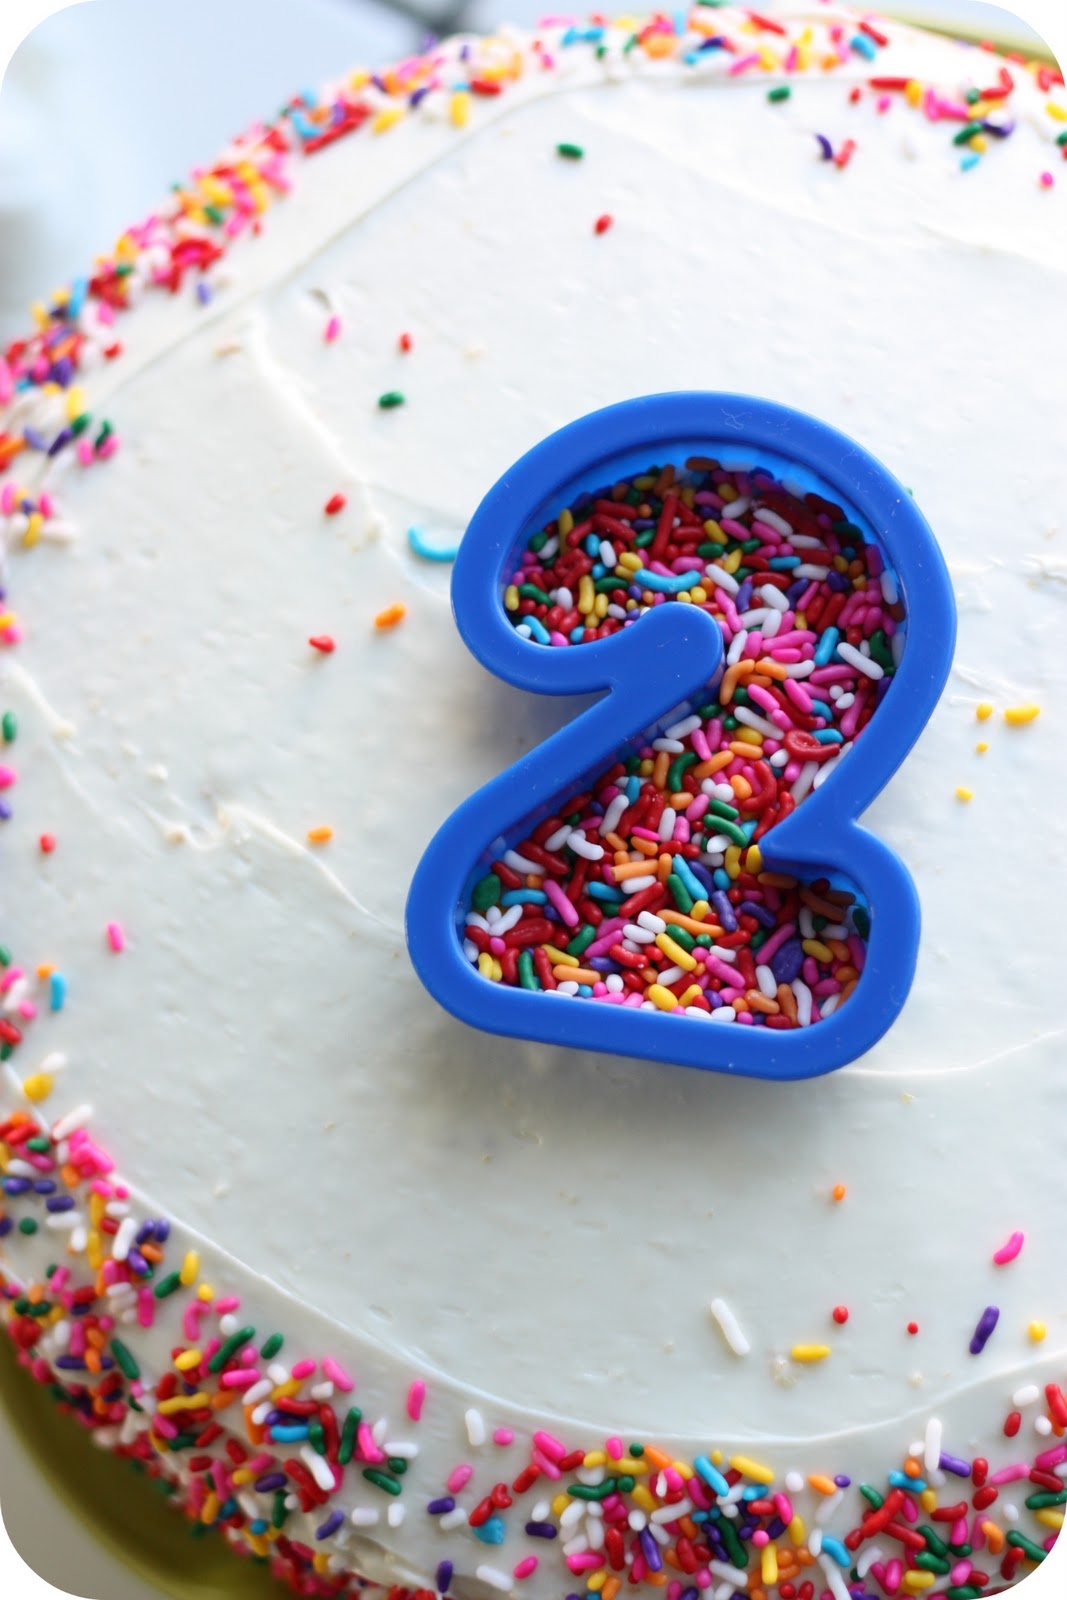
Sprinkles in the cookie cutter is a terrific idea!!
Thank you! With all the cookie cutter shapes, the possibilities are endless! Aaaah… idea!! Using mini shapes on each individual cupcake! I need to write that down and test that out. It looks really cute in my head.
Love the 2 in sprinkles! I’m not a baker either…
Thank you! This cookie cutter and sprinkles idea always distracts people from my less than perfect cakes. Thanks for the comment!
Hello Amnah:
Thanks for your sharing ! I used a heart shaped cookie cutter for almond sprinkles, but it seems not so clear >”< http://cupcook.pixnet.net/blog/post/46604446
Luckily, from pinterest I saw your pins 😀 Inspired by your picture, I think I can cut my almond sprinkles smaller next time !
BTW I cited one of your picture in my facebook page to share the improving idea I got from your website. If it's not proper to cite your picture, please let me know 😀 thank you so much !
http://www.facebook.com/photo.php?fbid=10151431390637621&set=a.10151288598537621.434426.259363487620&type=1
Hello, thank you for your comment and for linking to my image. 🙂
Thanks for replying 😀
I saw your recipe and I want to try it, it sounds so delicious ,I still have to go to the store and buy some items that I need to make it. Thank you I hope you have some other recipes in a drawer that you might want to share . Well thank you again and god bless.,
This is so cute and so simple. Thanks for sharing.
Thank you! Thank you for your comment 🙂
This is darling! I am definitely going to make this for my boyfriend’s daughter’s birthday party next month. Thank you so much for sharing!
Rhiannon
Thank you! It’s seriously one of the easiest ways to decorate a cake. It’s my go-to method. Good luck! Thank you for your comment 🙂
I love your idea of using sprinkles for putting the birthday age on the cake. So cute. Your cake looks so cheery and fun.
Thank you!
The cookie cutter is a great idea. I used a paper stencil for my son’s second birthday cake but we weren’t paying attention and put the stencil on the wrong way round so it looked more like a 5! Whoops….
Haha! Oops! A little frosting right over that and starting over might have helped. Glad you liked this idea 🙂
Soooo cute & fun! What a great idea using the # cookie cutter! I just want to gobble it up! 🙂 Michelle
Thank you! Glad you like it! It’s always the simplest ideas that are the best, right?
Your cake is adorable! What a perfectly wonderful idea to add the “2” in sprinkles; I love it! Your little girls are darling:)
Thank you! It was such a simple idea and I’m so glad it turned out nicely. Thank you for your comments 🙂
My sons birthday is in two months and i plan on making his cake myself.
Great post and great cake! I adore those sprinkle numbers. So fabulous! I can’t wait to try this. Thanks for posting! : )
Thanks for the cookie cutter technique. How did you get sprinkles on the side of your cake? It links terrific!
Great idea!
what a cutie 😀 really love the cookie cutter idea.
Masha’Allah,, That was really simple and perfect……. Thanks
Lovely idea for a celebration cake and looks easy to do. InshAllah I can create the same look for my daughter’s second birthday next month!
Wow this cake looks so yummy.
Olga.