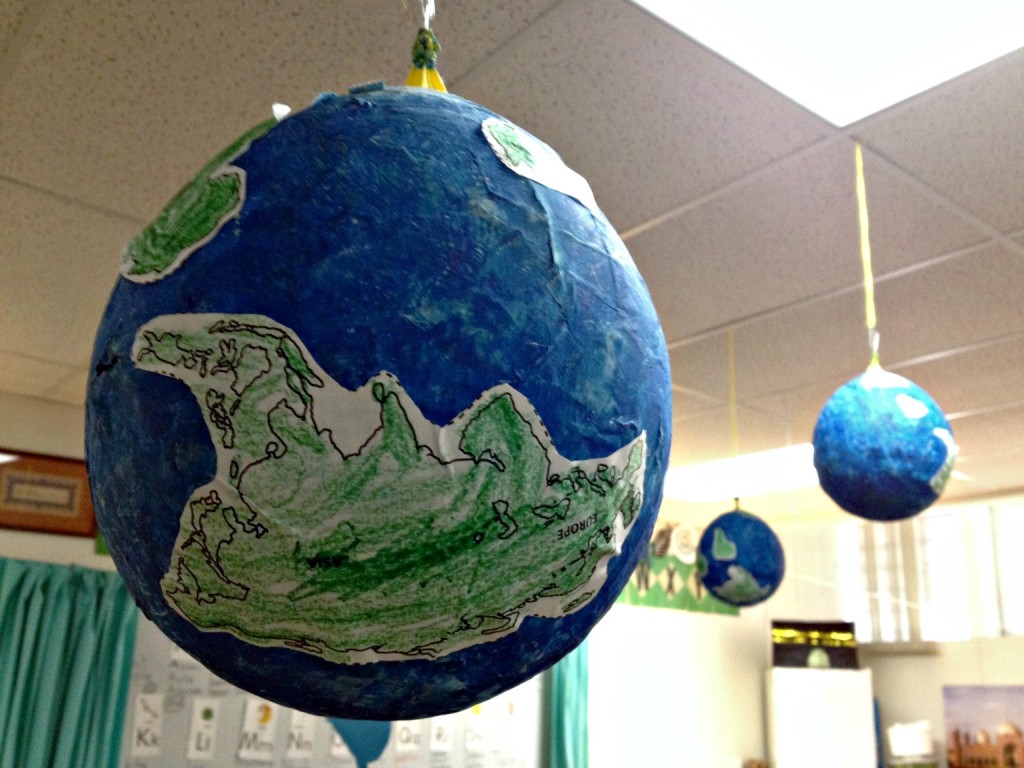
For Earth Day, the kindergarten students in my daughter’s class made globes. This was my first time using paper mache with J. It was messy and a whole lot of fun.
All natural paper mache glue:
- 1 cup all purpose flour
- 5 cups water, divided
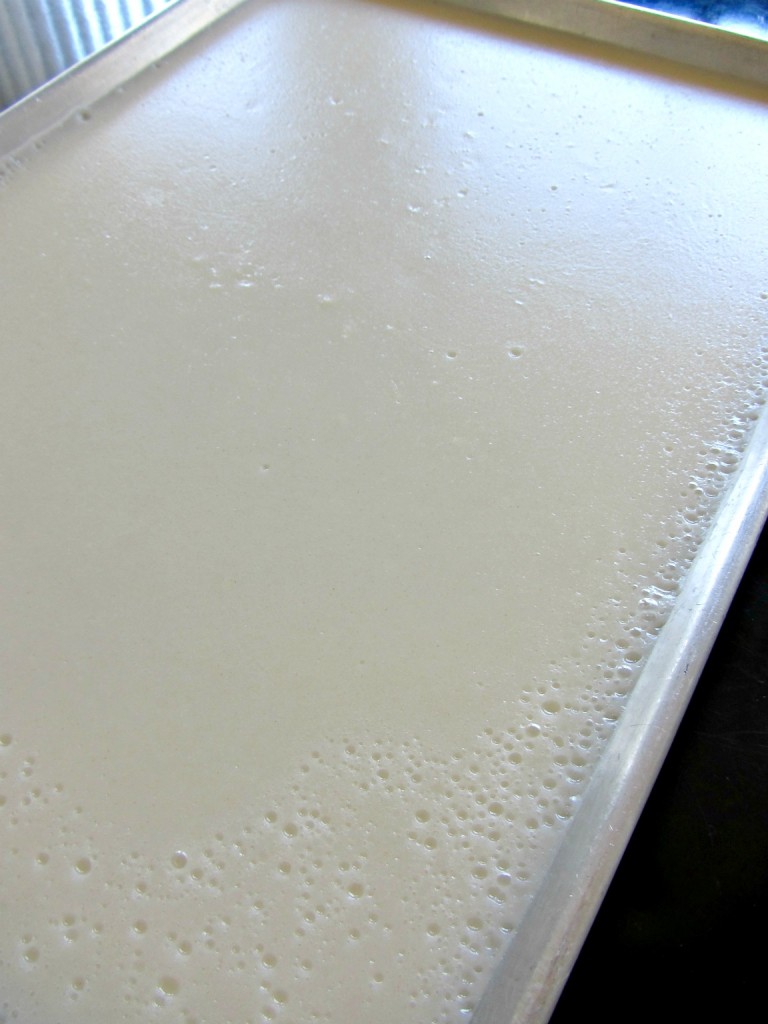
Combine one cup of flour with one cup of water. Bring remaining four cups of water to boil on a stove. Add the flour and water mixture and let it boil for three minutes. Remove from the heat and let it cool.
Caution: This mixture is very, very hot. I spread the glue out on a cookie tray to cool quicker. I transported it to the school in an airtight container. Also, I made one batch the first time around. With 15 students, we ran out quickly. I doubled the batch the second time.
For globes:
- large balloons
- strips of newspaper, a lot!
- paper mache glue, see above
- paint
Assembly:
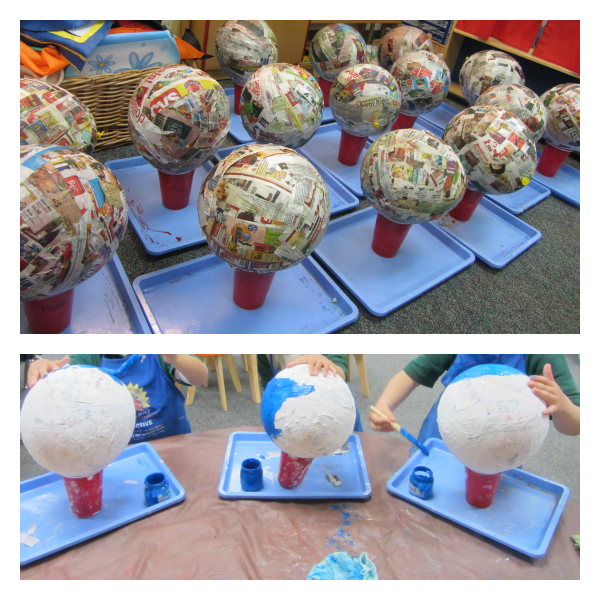
Blow up balloons to less than full capacity to achieve a round shape.
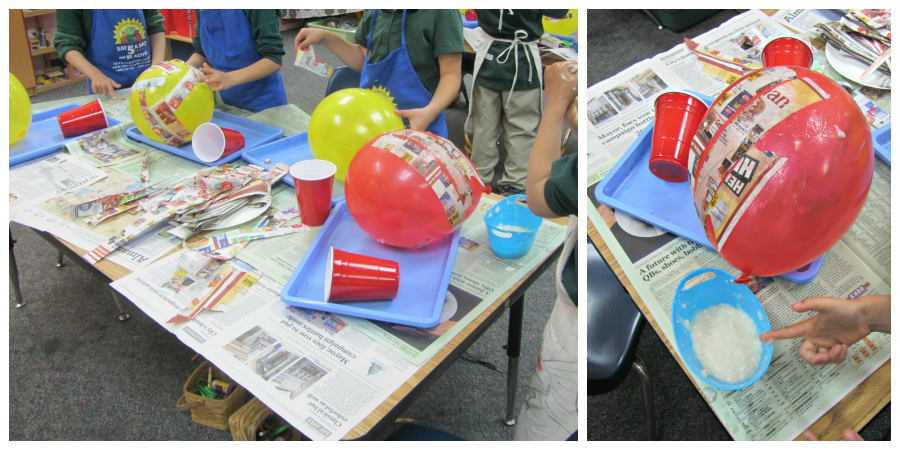
Dip a strip of newspaper completely into the glue. Remove excess glue with fingers.
Place readied strip of newspaper on the balloon. Cover balloon completely with one or two layers. Shorter strips are easier for students to handle. Encourage the children to smooth out their strips. But don’t be afraid to embrace bumps as mountains and waves. Allow to fully dry, preferably overnight. Setting the globes on a plastic cup to dry, is ideal. Repeat with one or two more layers to create a stronger globe.
Paint globe white to cover the newsprint. This will act as a primer for the next layer of blue paint. Allow to dry completely. Again, setting the globes on a plastic cup will help the children better handle the balloon while trying to paint it. Once fully dry, paint the globe blue and allow to dry.
Options for the continents:
- Using a printout of the of continents, color, cut, and glue into place.
- Allow the students to draw freehand and cut out their own continents from green contruction paper.
- Allow the children to paint freehand directly onto the globes the shapes of the continents.
Due to time constraints, we went with option 1.
The globes took a full week to complete. Day one, blow up balloons and complete first layer. Day two, second layer. Day three, paint globe white. Day four, paint globe blue. Day five complete continents. Attach string and hang.


Thanks for the tutorial. I have been nervous to make paper mache because it looks so messy!!
You’re welcome! Yes, it is messy! Spread lots of newspaper and wear an old t-shirt. But it’s a lot of fun. I’m hoping to do it again soon at home with both girls.
Hi, these globes are fantastic. I’ve bookmarked your site to come back and read more. My name is Dorsi and I write about climate change for the SF Examiner and I also write at HubPaes. I am writing about globe project art ideas and would like to know if I can use some of your globe photos in an article and I would provide attribution and a link to your website.
Thanks in advance.
BTW nice website!
Hello Dorsi,
Sure, you can use my images. That would be great! I’m glad you enjoyed my site. Hope to hear from you again.
BTW I had a typo there – I write at HubPages!
Salaam! So we are doing this right now lol and I’m wondering if it’s ok if the flour mixture is super lumpy?