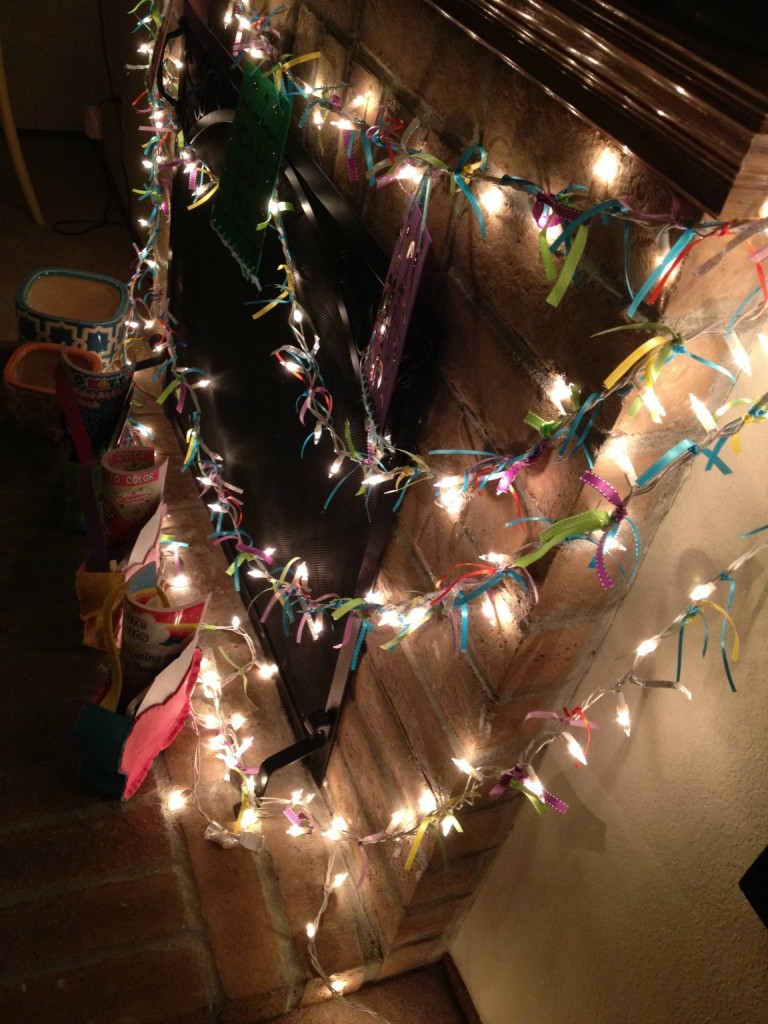
We all have them. Those loooong strings of lights that we picked up on clearance (or perhaps you paid full price, silly you). Colored or plain white. LED or traditional energy gulping bulbs. We string them up for Ramadan and Eid to make our homes more festive for our kids (okay and for us). They’re magical and twinkly and just plain fun.
But once those lights are unplugged during daylight hours, they’re loooong strings of lights draped around our mantels, wrapped around our banisters, and hung across our ceilings begin looking like spiderwebs on steroids.
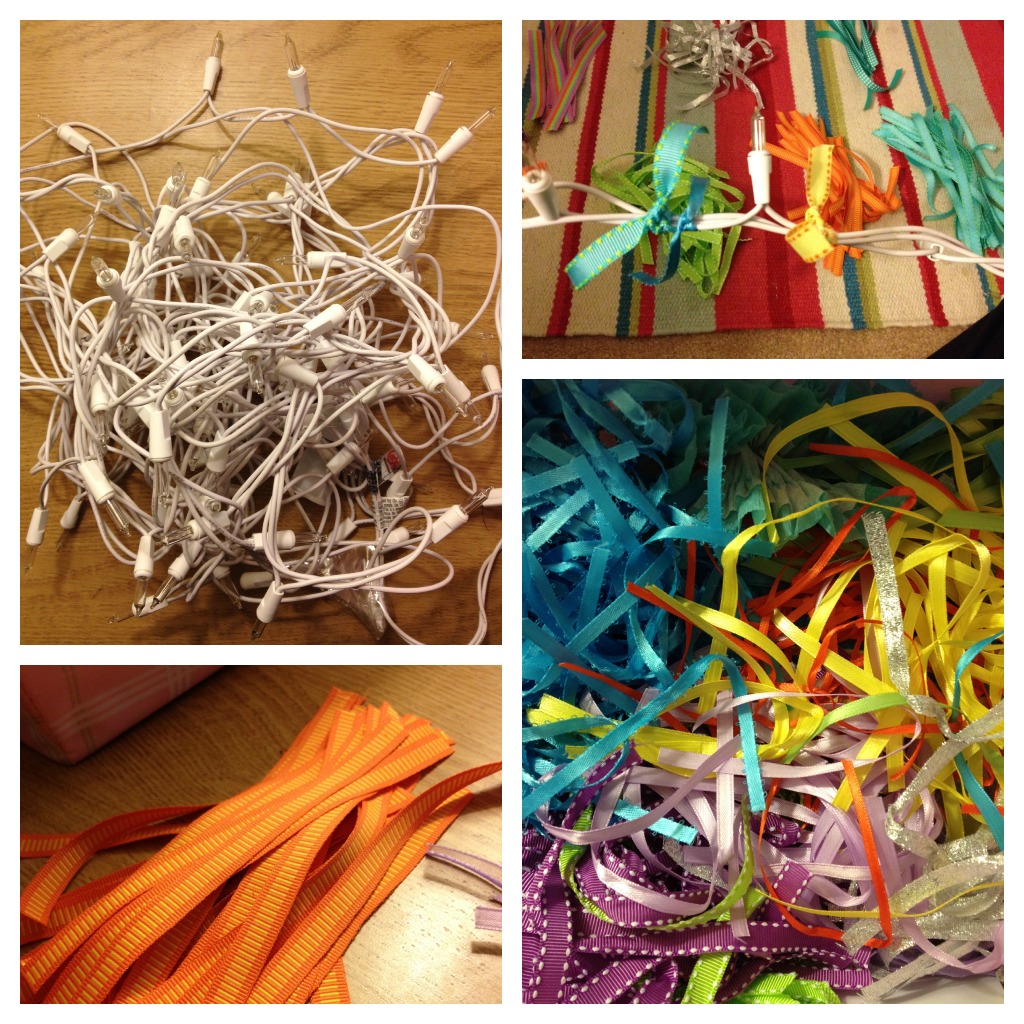
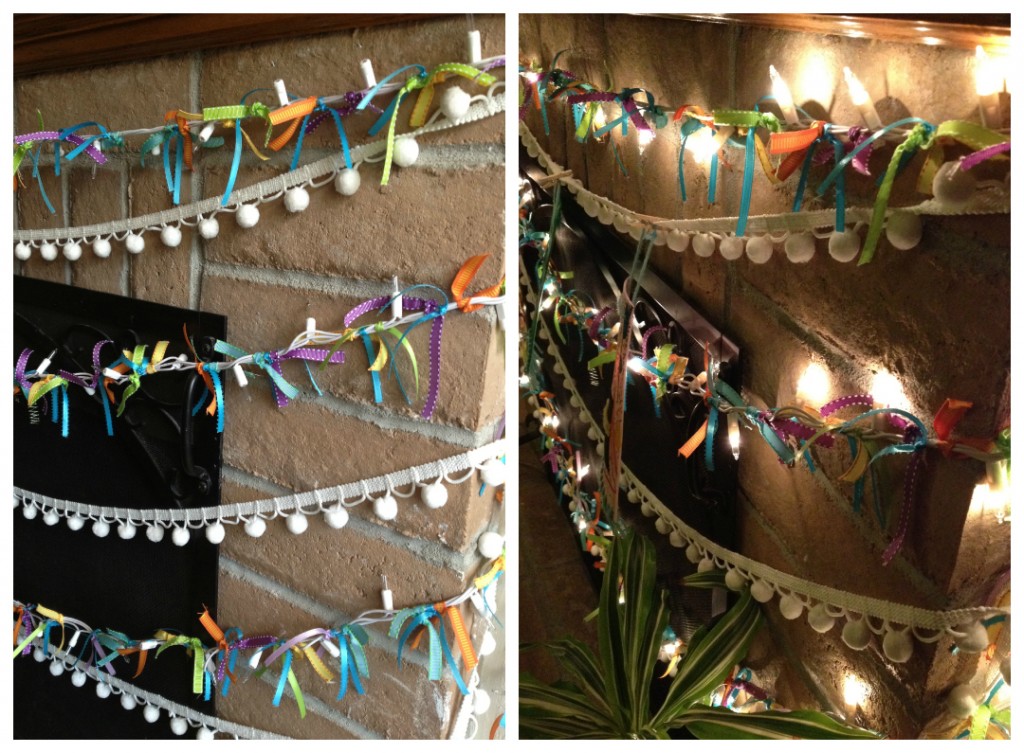
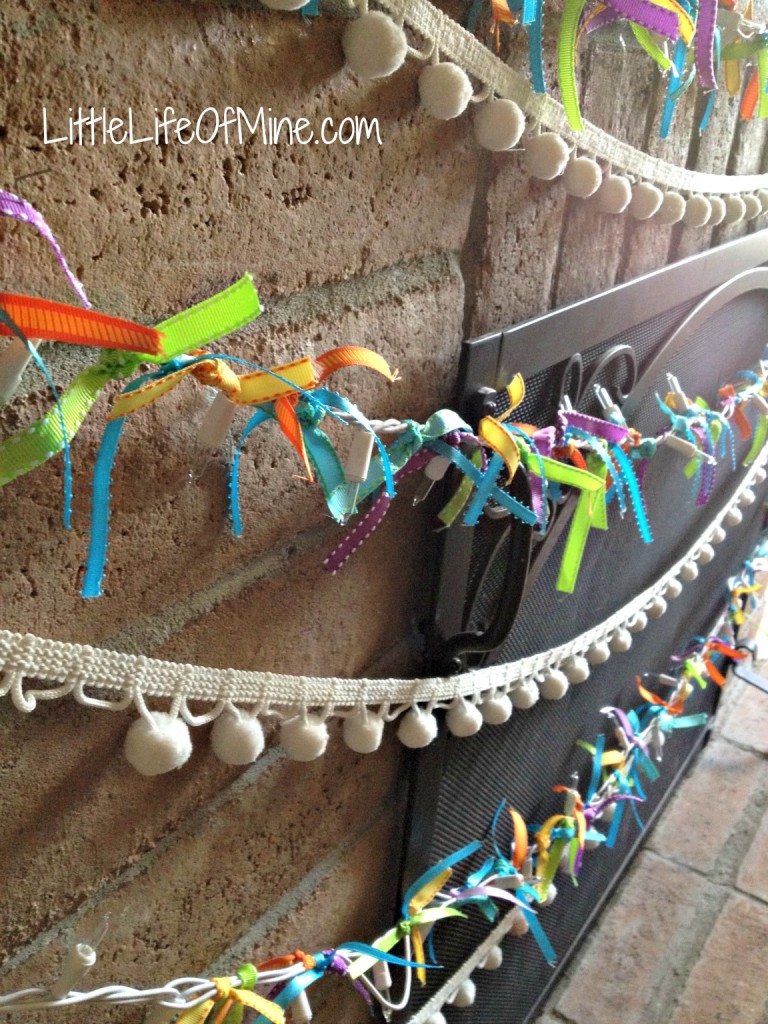
I saw this idea months ago and knew this was the way to go to make the strings look festive all day and night. Tying ribbon to the lights is an incredibly simple way to spruce up the lights and give your decorations a more thought out feel. Ribbons can be used to enhance your current color scheme or add color to your current display. You can go fancy or funky. It’s your call.
- One strand holiday lights – the shorter the better, I used the 100 light strand
- Ribbon in the width and color of your choice*, cut to 6 -7 inch lengths
*A note about the ribbon: The 10 yard spools are ideal for getting the most coverage throughout the string of lights. Wider ribbon provides thicker coverage between each light. I used 5/8 inch ribbon that I already owned which happened to work perfectly with my color scheme of yellow, purple, apple green, orange, and turquoise. I used the thinner and cheaper ribbon – which I also already had – as filler between the ribbons. Wired ribbon is not suggested. Thicker ribbon gives it fuller look and the colors stand out more. There is no wrong way to do this. Take this project and make it your own. If you’re worried about not having enough ribbon, start from the center of your light strand and work your way out. This way you have the middle full and covered to your liking and the rest can taper off. Does that help? I feel like I just made this super simple craft sound very complicated.
Directions:
1. Cut ribbon to desired lengths. Factor in tying the ribbon twice to the strand. Too short – you’ll risk not achieving you’re desired look. Too long – you’re going to run out of ribbon quickly. I found that 6 – 7 inches of ribbon work best for me.
2. If using multiple colors, decide on a pattern and lay it out before you. Or keep it random. Remember, there is no wrong way to do this.
3. I started from the end of my strand and counted about 10 – 15 lights in before I started tying my ribbons on. Be sure to double tie the ribbons. Otherwise they’ll eventually become loose and just fall off. I tied in the order of my sequence I had laid out. Once I reached the end and realized I still had extra, I started over in a new sequence and added more ribbon.
Note: While this may be a very simple project, it takes time. I listened to lectures online as I sat tying away. Set aside a time to do this when you can fully just sit and tie and tie and tie and… Ooooor, have someone (like your kids?) help you tie the ribbon on. This would work especially well if you’re just tying in a random pattern. Unless you’re super synchronized and can work as a team to get the ribbon on in order. Sorry, there are no medals offered for that.
How have you taken a store bought item and made it suitable to your holiday style and decor?


MashaAllah girl you are on the roll.. day after day I read your posts with so many crafty things you do with your kids.. I fell in love with each one of them.. and doing most of them with my little one. thanks so much.. one question though.. how you find so much time to do a craft almost every day???
Thank you! I’m so glad that you’re enjoying the posts and doing them with your little one. But girl, I do NOT craft every day with my kids. I usually craft with the girls at a planned time during a day that I don’t have too much going on. Sometimes I’ll be spontaneous and spring something on them if I have all the supplies ready. Since they’re still so young, majority of our crafts require me to be there helping them along. I stick to pretty simple crafts now.
Also, I do not post our projects in chronological order. The mosque portraits were done the first day of Ramadan!
Beautiful! As always! Amnah, you are too talented Masha’Allah!
Salam ‘alaikoum dear sister!
Aid Mubarak ! Taqabal Allah minna wa minkum!
I just want to tell you that i like a lot your blog!
I’ve talking about you in mine lol!
The things you do with your girls is beautifull mach Allah! …
Me, i don’t have time to do something now, i’m busy with my parents, specially my dad…
So see you inchAllah kiss!!!!
hi gal!! i love this–you are always coming up with something fun! love catching up on your blog! my instagram is sharstinm:)
I love it!! Lights do make everything more festive… and I LOVE how you made it more festive with the ribbons. I think I’ll just have to borrow this idea for Eid al-Adha. Pinning it!
AOA Sister,it is very nice :). I also did something similar for my daughter first Sawm this year. I made carnation flower with tissue and tie them with green color ribbon. MA you are one of talented girl. Love your website. I am glad . I love Rammadan stuff, IA next year we will do some 🙂 thanks
Oh My Goodness! What a GREAT idea!!!!