Nearly every aspect of Maysoon’s monster themed first birthday party was handmade. The games, the decorations, the food, and the desserts. I had fun making each and every single item and took great pride in the finished products. Majority of the projects we’ve kept and continue to use. Everything came together so easily and each project can be adapted to any theme you choose. I got the look of a completely custom party without dropping a ton of cash. See the full party here: Part 1, Part 2, Part 3.
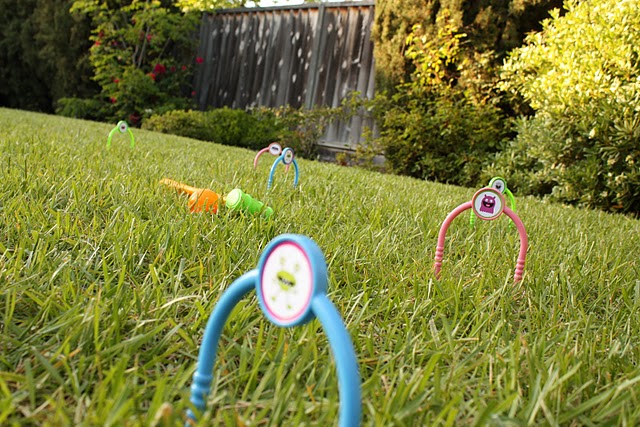
Monster Croquet
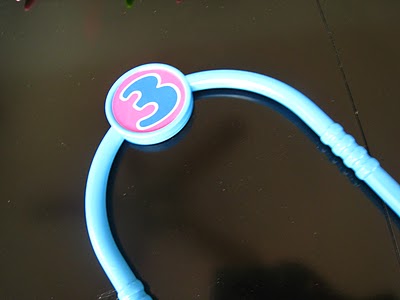
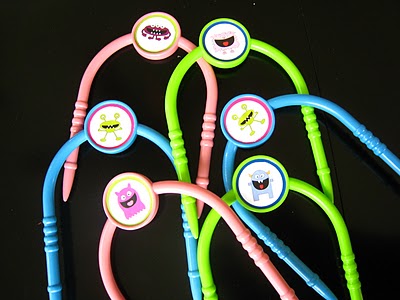
I purchased this croquet set from Walmart on clearance after Easter. I used a 2 inch round craft punch to cut out the images of my monster printables. I then glued a different monster over each number. Doesn’t get easier than that.
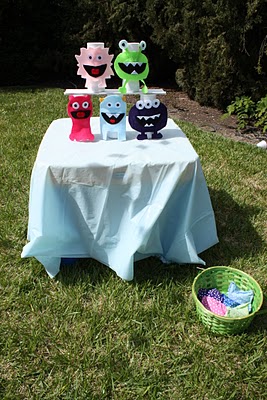
Monster Knock-Out
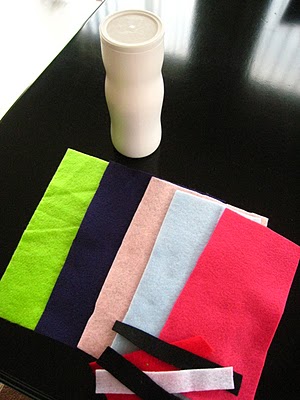
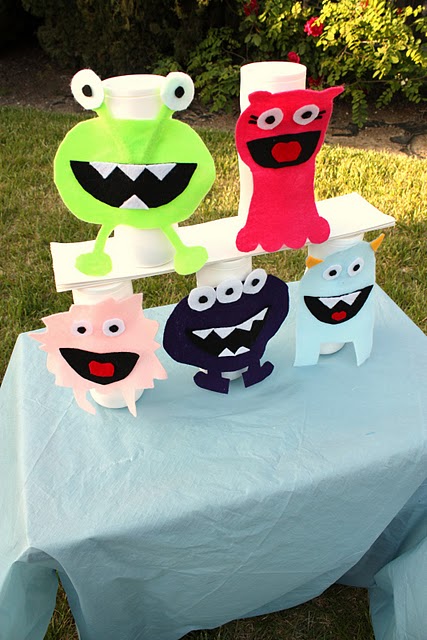
Materials: Felt for monster bodies, eyes, and mouths, baby snack puff containers (labels removed), sand, card stock, elastic, and fabric glue.
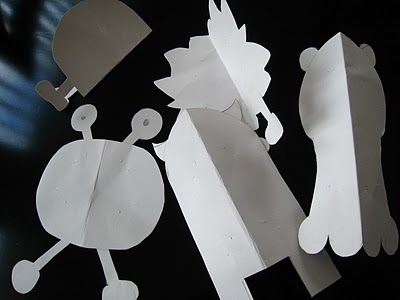
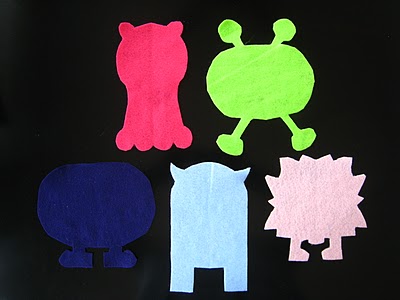
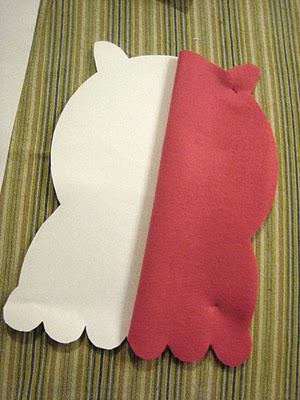
Freehand your monster (or whatever image you desire) onto card stock. Then fold in half using your best half as your stencil. Fold felt in half and place stencil on the folded edge. Trace around and cut out.
{Almost} even monsters.
Cut out eyes, tongues, and mouths and glue on with fabric glue. Sew a 5 or 6 inch of elastic to a 3 inch piece of piece of felt creating a band. Make one for each monster. Glue the felt part of the band to the back of each monster. This will allow you to slide the felt monster on and off of each snack container. You can also just glue the monsters directly to each plastic container. I just wanted to make mine removable so that I can use the containers again if I wanted to.
Fill each container with enough sand to make it sturdy but not too much to make it difficult to knock down. Maybe about half a cup of sand each container. Hot glue the lids on so that the sand doesn’t get knocked out.
To keep the green monster’s eyes up, I glued flat food picks on the back of it’s head.
Bean bags
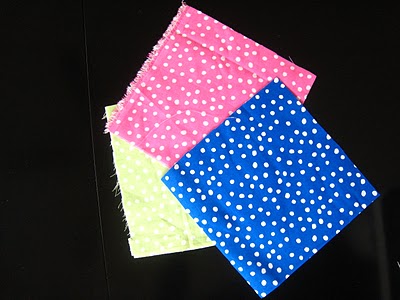
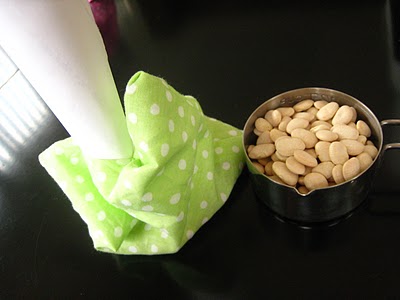
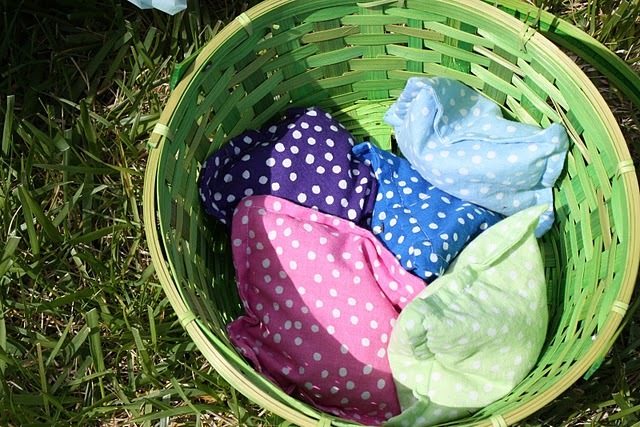
Materials: Fabric squares (I think mine were about 6×6 inches each) and dried beans.
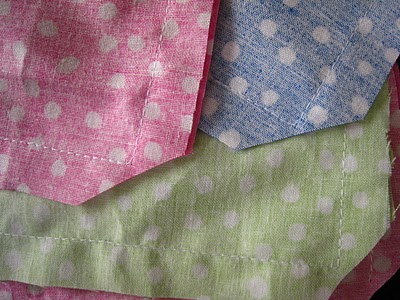
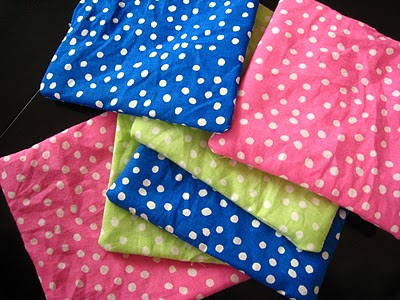
Cut out fabric in the size of your choice allowing an extra inch or so for seam allowances. Sew right sides together leaving a 2 inch opening. Snip corners. Turn inside out and fill 3/4 of the way with dried beans. Top stitch all the way around being sure to catch the turned in seam of the 2 inch opening.
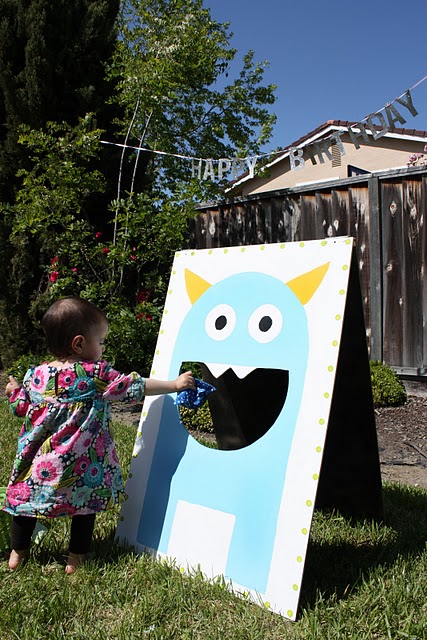
Monster Cut-Out Bean Bag Toss
Materials: Two sheets of MDF, two sets of hinges, a jigsaw (thanks Baba!), paint and brushes.
Have an employee at Home Depot (or Lowes) cut your MDF to your desired size. Mine was 3 feet tall x the standard width of the sheet of MDF.
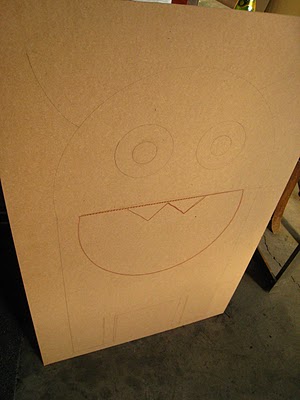
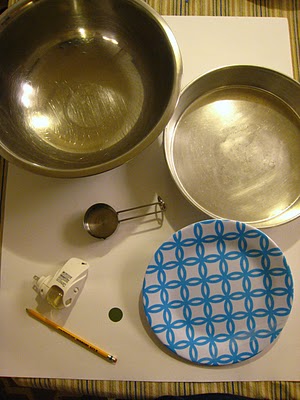
Draw on your monster (or desired image) using random household objects to use as stencils. Draw a darker line of the area you want cut out. Make sure it’s large enough to toss in bean bags but not so large that it makes the game too easy.
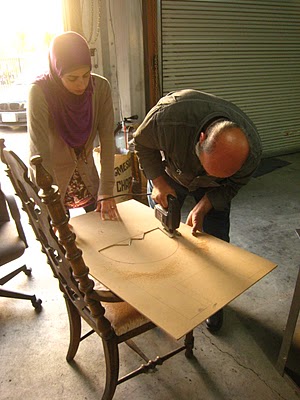
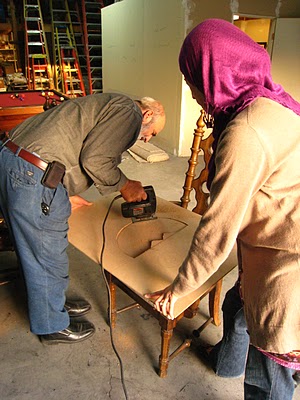
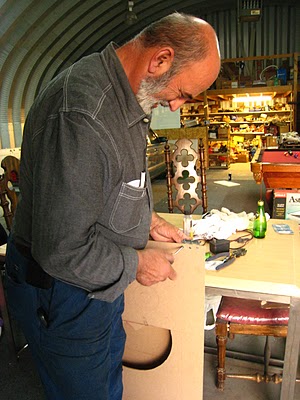
Have your super talented dad (or husband, brother, neighbor, yourself!!) cut out the mouth using a jigsaw. Hold the board pretending like you’re actually contributing to the process.
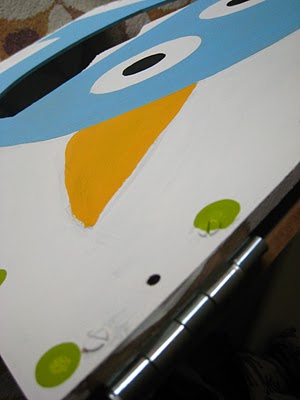
Next screw on the hinges on each top corner to attach the monster image to the plain back board. This will allow you to stand the game up like an A-sign.
Let your ultra cool dad think of something you never considered: cut off the excess screw length so that the game can fold and store flat. Get distracted by the cool sparks.
Paint your image and background. Spray paint (or paint) the inside of the game black so that the mouth appears black. I wish I had thought of using a top coat of some kind of sealant so that I could be able to just wipe the game down when got scuffed.
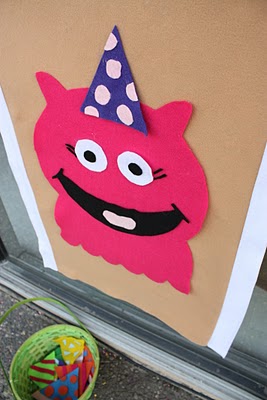
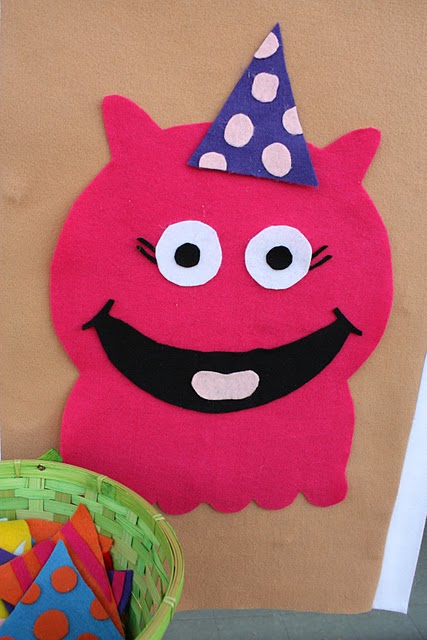
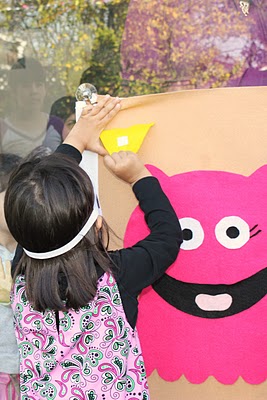
Pin the Hat on the Monster
Materials: Felt, two sheets of poster board, fabric glue.
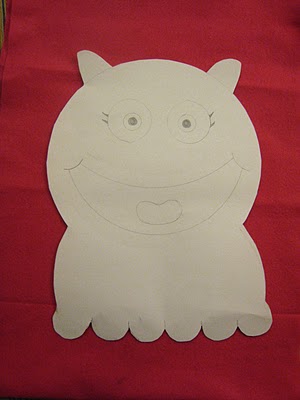
Draw out your monster on one of the sheets of poster board using household items to get the most even results. Cut out the large monster shape first and fold in half. Fold felt in half and place stencil on the fold. Pin the poster board to the felt and cut around the stencil. This will give you an even monster. Then cut out the eyes and mouth and cut those out of felt. Glue down eyes, mouth, tongue, and lashes. Glue down a large piece of felt cut to the size of the second poster board. Mine was a little narrow so I added some strips as a border. Next glue the completed monster onto the felt covered board.
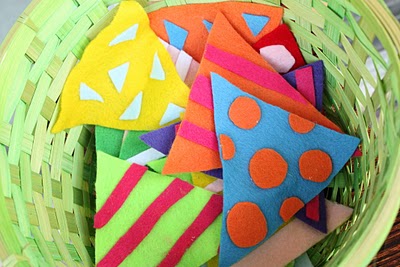
For hats: Cut out triangles of felt and decorate each differently. Attach a small piece of Velcro to the back to ensure it sticks to the felt game.
She was held up using suction clips. You can always just use thumbtacks to hang up on a wall or with ribbon for a prettier presentation.
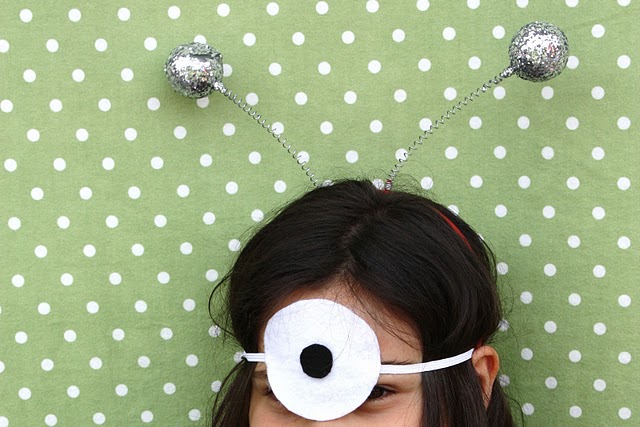
Monster Accessories (photo booth props)
Materials: Felt, elastic, fabric glue (or a glue gun).
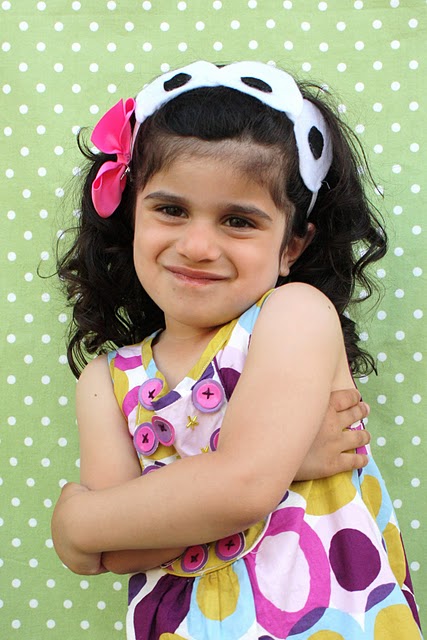
Eye ball. Cut out a large white circle and smaller black circle. Glue. Sew on a strip of elastic on either side of the eye. Make sure the elastic isn’t too tight or too loose. Measure around a child’s head and take off 2 inches. I made a second version with red eye lines drawn on but felt it was too creepy for the little ones.
Multiple eyes. I used this as the blindfold for the Pin the Hat game. Make 3 large eyes. Overlap slightly and glue. Sew on elastic on either side of the finished set. Make sure to double stitch to give a secure grip.
Teeth. Cut out two triangles. Sew onto a band of elastic.
Ribbon Photo Display
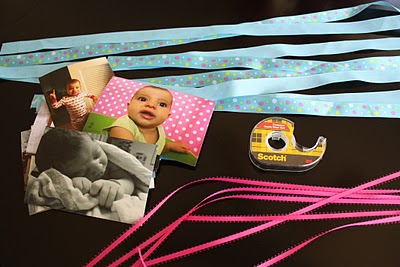
Materials: A few spools of ribbon, plain white paper, double stick tape, pictures.
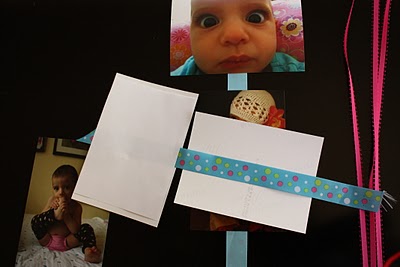
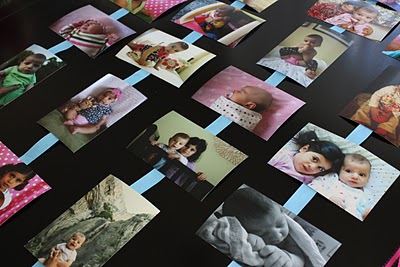
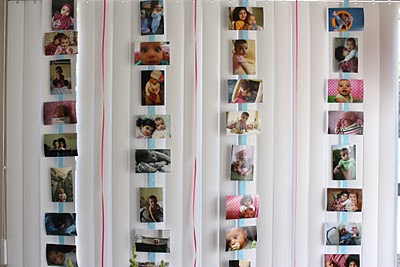
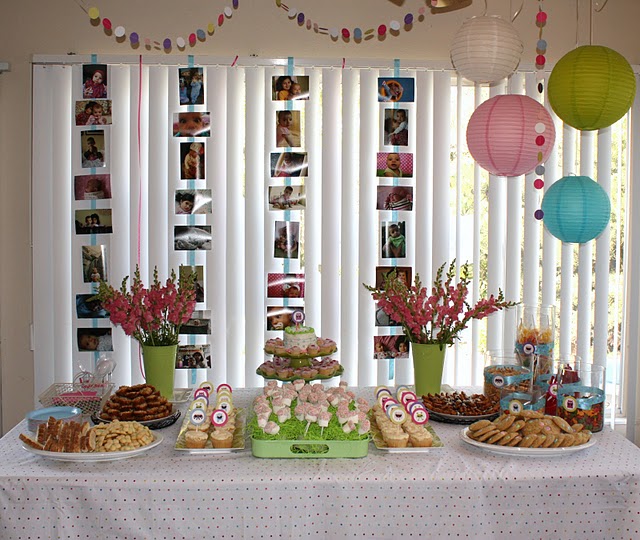
Depending on where you want to hang this, cut ribbons to length. I hung mine behind the buffet/dessert table in front of the window. So my ribbon went from the top of the window down to the top of the table. I added some thinner ribbon in the middle of each strand just to add some interest and color.
Arrange pictures in a way that pleases you. I went with horizontal, vertical, horizontal, etc. Since I hung mine against the window the picture appeared a little transparent and the line of the ribbon was making a shadow through the picture. So I cut paper down to size and taped behind each picture. If yours is going against a wall, skip this.
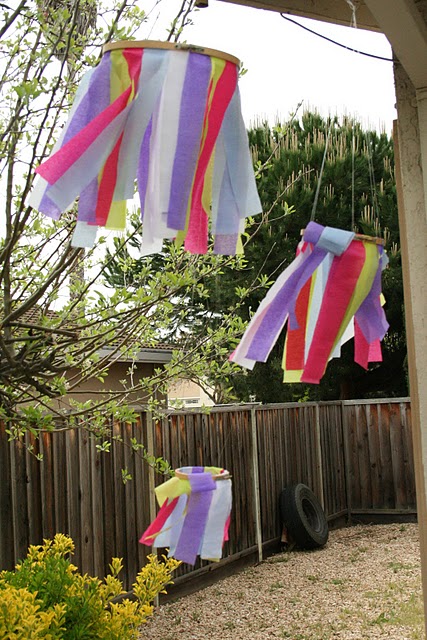
Streamer Windsock
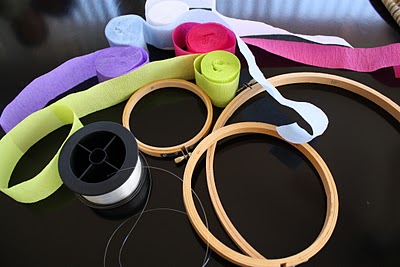
Materials: Embroidery hoops, streamers, double stick tape, fishing wire.
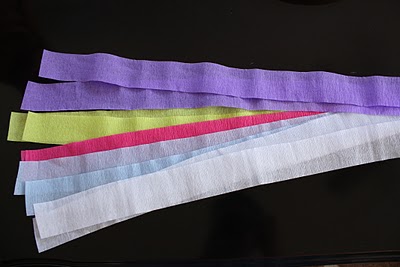
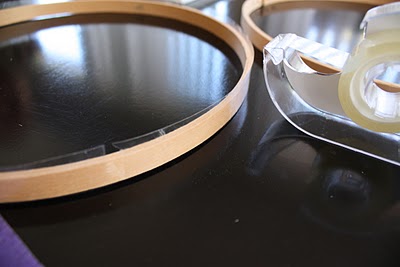
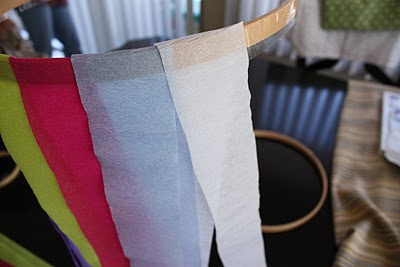
I saw this idea in Better Homes and Gardens a long time ago. Cut long strips of streamers, double the length of what you actually want hanging down. Place a strip of double stick tape around the outside perimeter of the inner hoop. Drape your each strip over the hoop, pressing against the tape so that it sticks. Slightly overlap each strip. Replace the outer ring of the hoop. Hang with fishing wire.
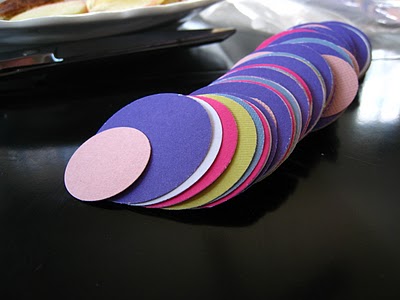
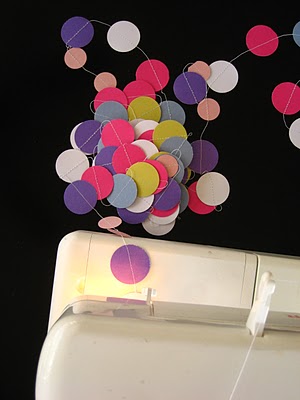
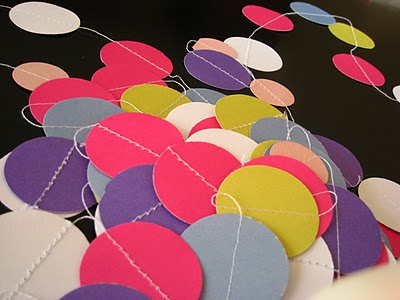
Punched Circle Garland
Materials: Card stock, craft punch of your choice.
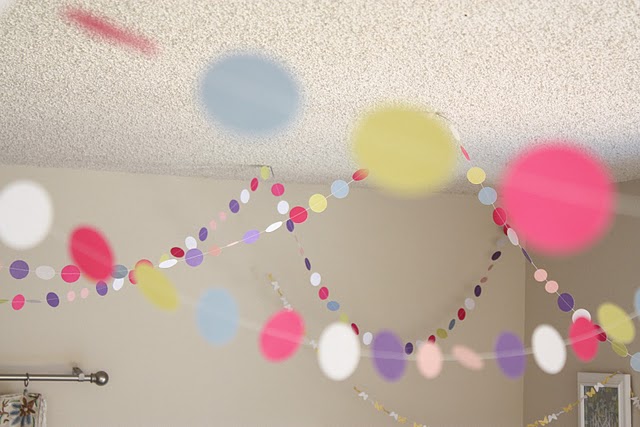
Punch out as many shapes as you want. Arrange or leave random. Feed each shape through your sewing matching and sew a continuous strand. Sew as short or as long as you’d like. One long strand can always be cut down to size.
Streamer Bunting
Materials: Twine, streamers, glue.
I originally got the idea from
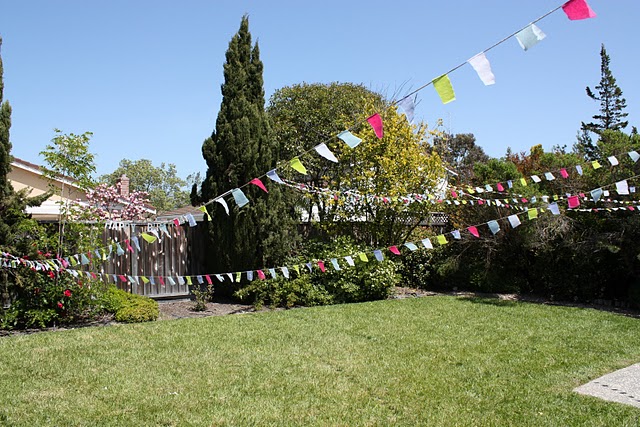
Oh Happy Day. Instead of cutting sheets of tissue paper, I cut strips of streamers. Fold each strip over the twine and secure with a dot of glue.
Phew, that post was a doozy.
Linking to: Made by You, Just Something I Whipped Up, Get Your Craft On, Blue Cricket Design, Sew Much Ado, Somewhat Simple, Tatertots & Jello, Sew Chatty.


Wow, you are super talented and creative! And is that your dad's shop?!?!?! What luck to have access to that! Amazing family. I am fortunate to have you and Iman for inspiration.
machaAllah cute!! doing that kind of stuff looks like fun.
Another lovely blog post, very creative!
~~CONGRATULATIONS~~
You made my top 5 favourite blogs of 2010!!
Linked here: http://muslimahsmusings.blogspot.com/2010/12/end_31.html
Please take the picture as a mini reward and add it to your blog if you like 😀
I look forward to more posts in 2011
Take care inshallah!
(i hope you see this comment!)
What a monstrously fun time. I will have to bookmark this idea for next year when my boys have their first combined party.
OH MY WORD! What an AWESOME party!! WOW!!!! I am impressed!
I would LOVE for you to join us at Kids Get Crafty (with and for kids, every Wednesday on Red Ted Art) – current link up http://www.redtedart.com/2011/01/05/kids-get-crafty-3-kings-dressing-up/
Hope to see you there!
Maggy
so fabulous! love it~
This is an awesome birthday party!!! Love it! If you have a chance come link up to Handmade Tuesdays @ Ladybug Blessings next week! http://www.ladybug-blessings.com
uhhh, WOW. seriously, WOW!!! you are super talented!!! what a gorgeous party!
~selina
I have to say your judgement could not have been delivered in a more thought enthrawling way. I commend you on the quality of this post. Thanks
Enjoyable read!
Assalamualaikum
Wow, maaschaAllaah! It looks so great!