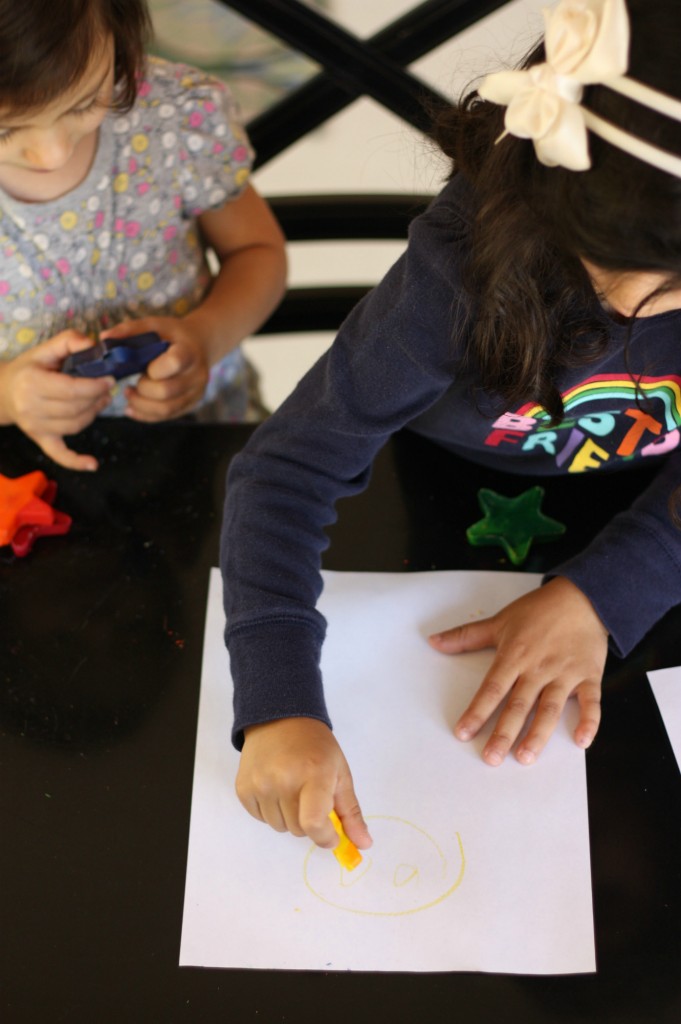
I adore crayons. They invoke so many wonderful memories from my childhood. I always encourage my girls to color by leaving a stack of papers and coloring books along with a big bowl of crayons right on our kitchen table. Whenever the urge strikes, I they can pull up a seat and color to their little heart’s content.
To strengthen that urge to color, I wanted to throw some shaped crayons into the mix to boost their imagination a bit. I had seen shaped crayons all over the internet and the process seemed pretty simple. I love simple crafts.
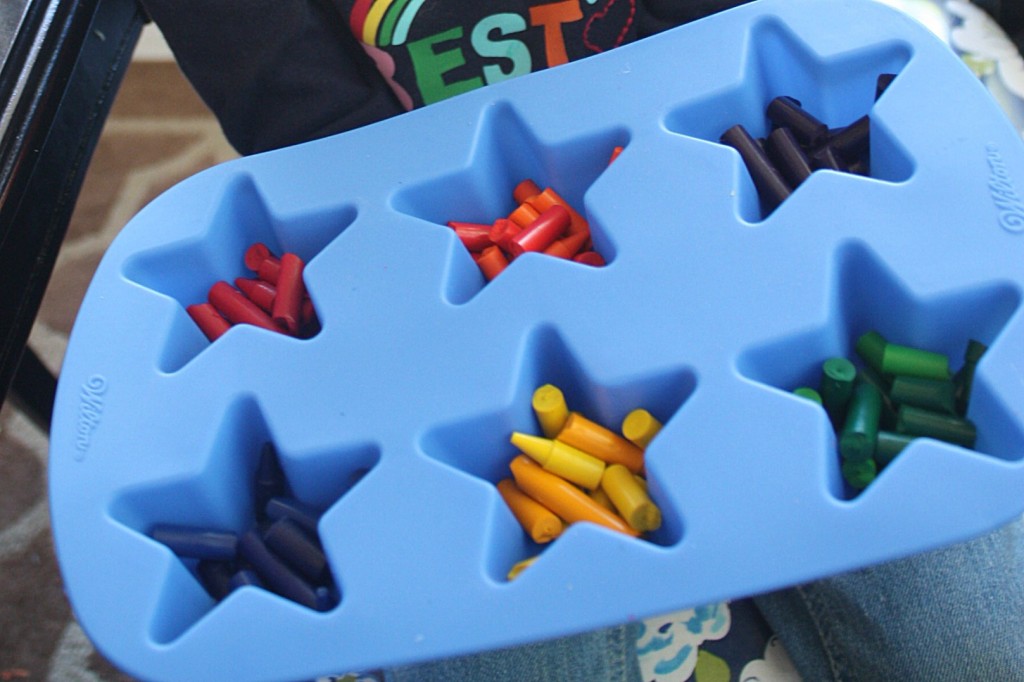
All you need are Crayola crayons (don’t skimp, these are hands down the best crayons in the world) and a silicone mold in the shape of your choice. Metal pans work too I’m sure, but you just can’t beat the ease of the silicone molds. I bought this star shaped one specifically for Ramadan. I used a coupon and was able to purchase it for 50% off. I love saving money.
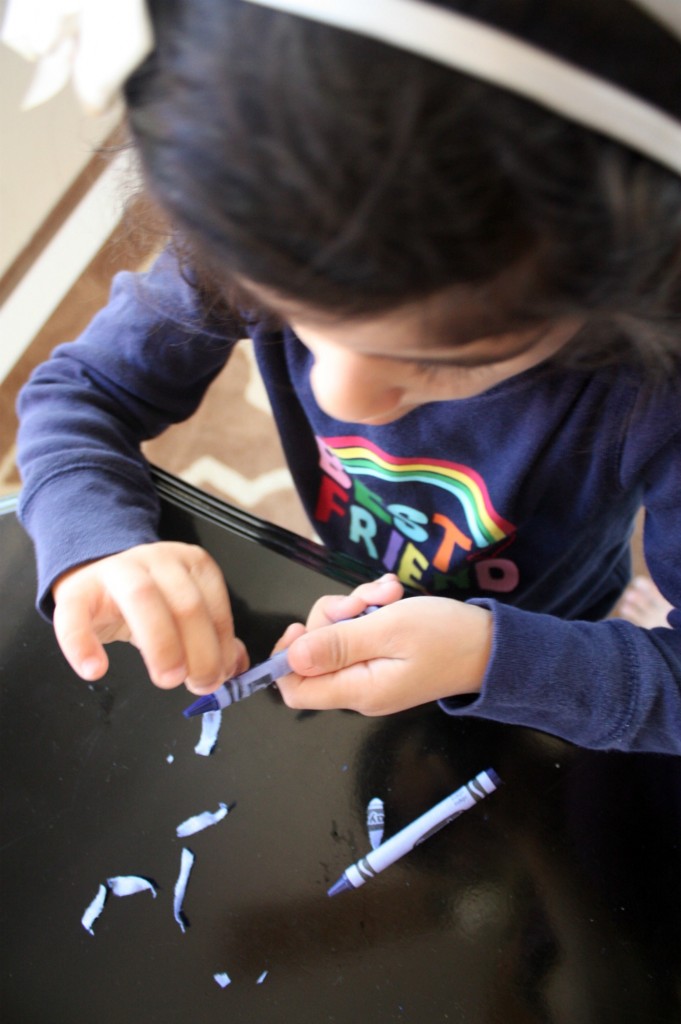
Peel your crayons. Have your kids help to release some pent up big sister/little sister frustrations. Oh, is that just my girls?
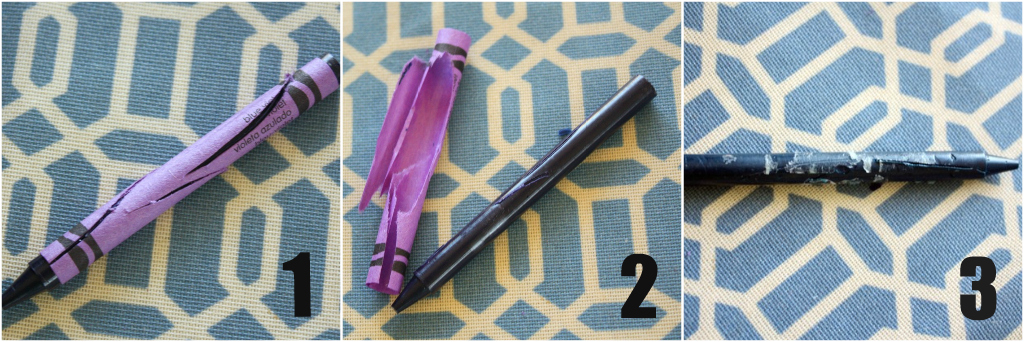
Once your kids get over that, take matters into your own hands. The simplest way is to: 1. Score the crayon with a knife. 2. Peel it all away in one piece. 3. Some crayons have attachment issues letting go of their paper covers. No worries, just rub away with your fingers or a clean towel.
Pause for another mom task that still involves peeling.
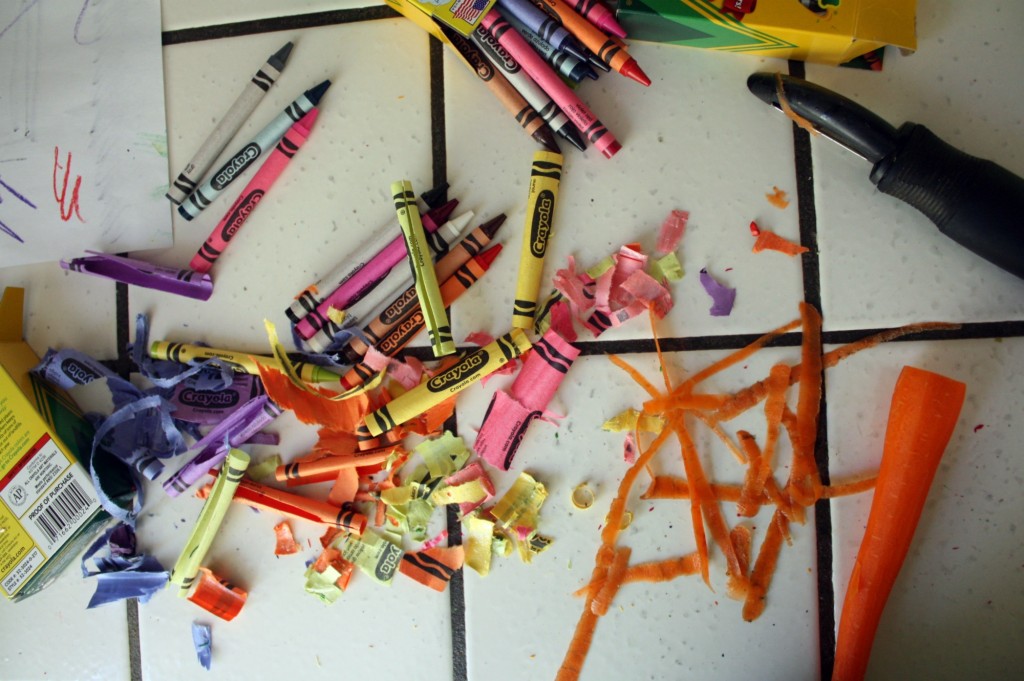
Release your own pent up frustrations about why your kids bore of crafts so easily. Break the crayons into little pieces yourself. I used 3 full crayons for each star.
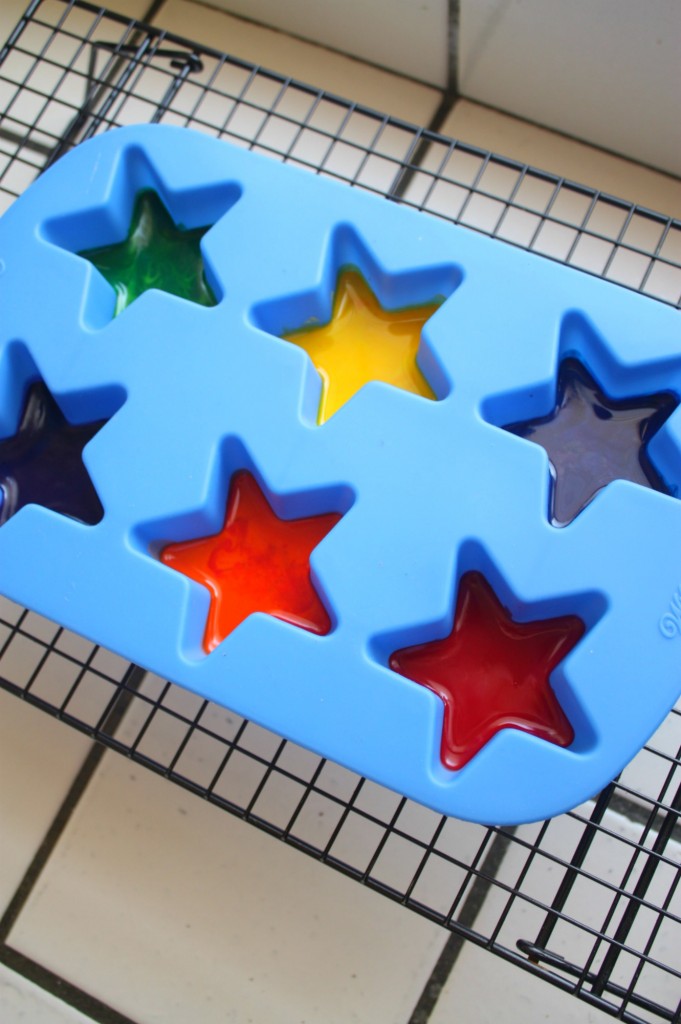
Place the mold on a baking tray for stability and place into an oven preheated to 300 degrees. A toaster oven is perfect for this. It’s just the right size and doesn’t use as much energy (I think) as a conventional oven. Melt the crayons for 7-9 minutes. Check on them and take them out as soon as all the pieces have melted down.
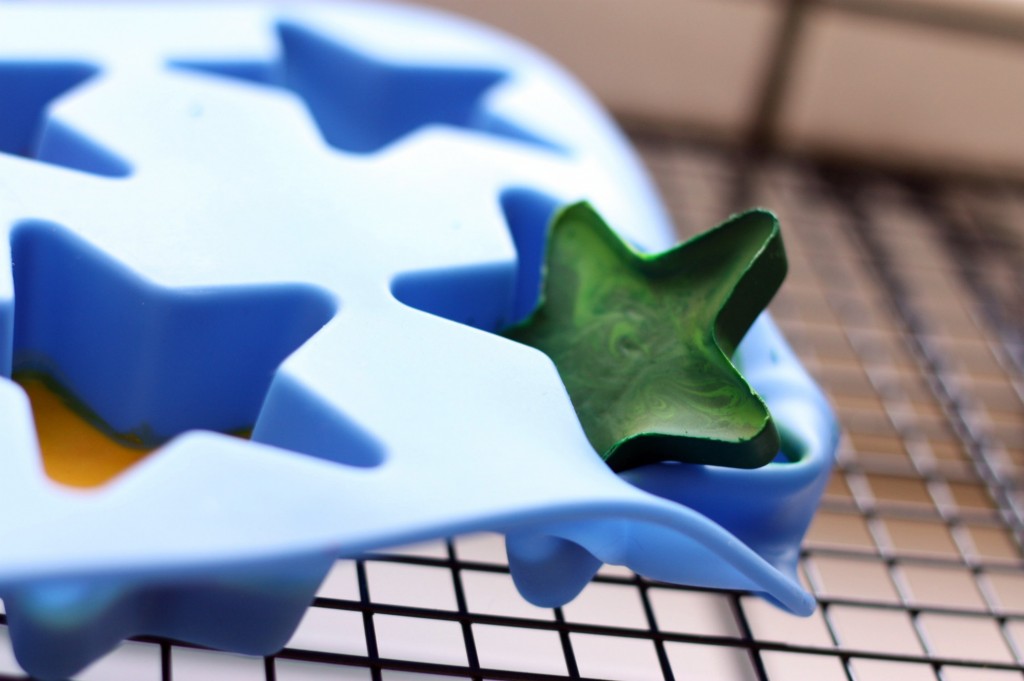
Carefully remove from the oven, remove from the baking tray (use gloves), and place to cool on a wire rack for about 15 minutes. Resist the urge to pop these out early while they are still warm, you will squish them or dent the shape. After the initial cooling, pop the entire mold into the fridge for 5 minutes to make sure they set completely. The fun part: gently pull the silicone mold away from the crayons and then pop out.
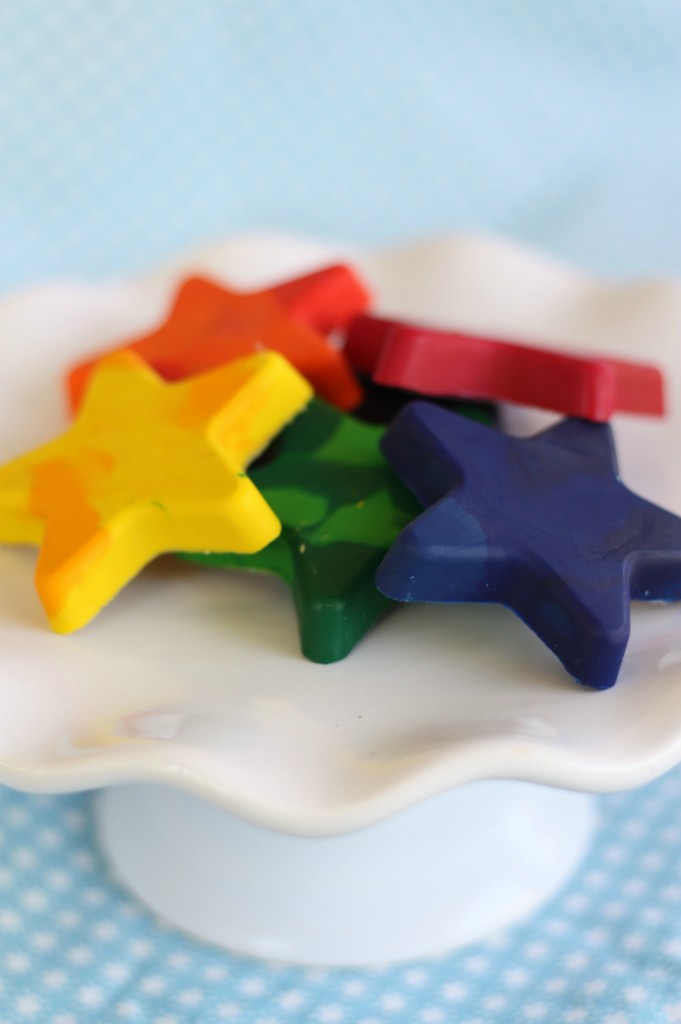
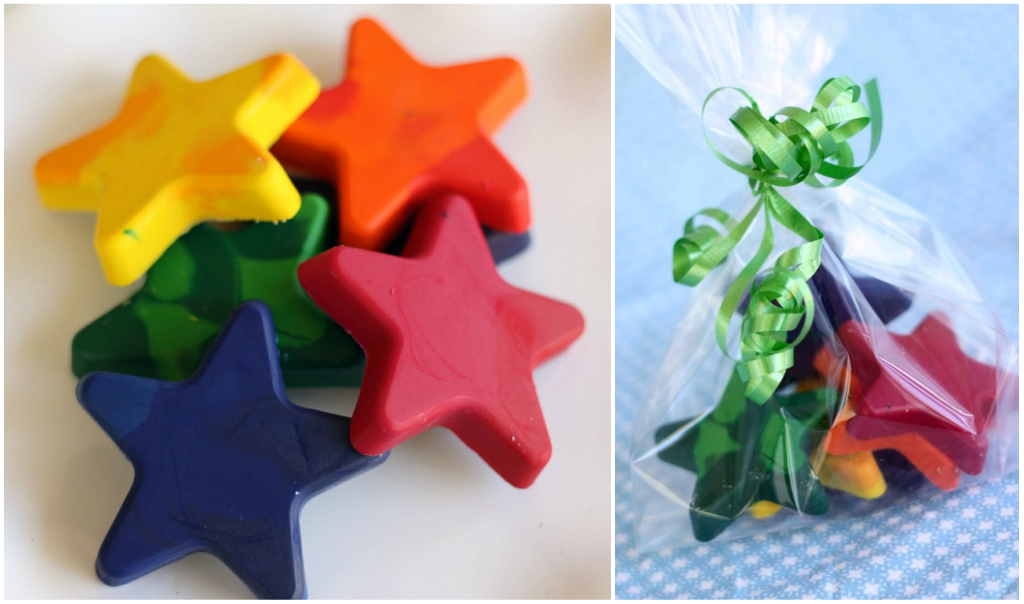
Ta-dah! Star shaped crayons.
Leave as is or package them up in clear bags to make cute little gifts or party favors. This makes a great Ramadan craft.
Then let the kiddos have at ’em and create their own crayon filled childhood memories.


So easy! and very cute.
p.s. love the cake plate you used to display them 😉
Amnah! You always make me wistful to have kids as cute as yours mashallah and then I want kids so I can do all these kinds of wonderful crafts with them! Oh well, inshallah one day!
Aw, thank you Humaira. InshaAllah one day. But take it from me, they won’t enjoy every craft!
sooooo cute!!!
Thanks!
the crayons have attachment issues huh? thats a good one…hahah
anyway I thought it only happened to me when my daughter gets bored halfway of a craft!
Assalamualaikum.
Aren’t these wonderful!!! We just used up all of our star ones. Just baked a batch or circular ones using mini muffin pan . . . great for crayon rubbing projects especially in the fall.
Fabulous craft mashAllah!
I absolutely love these!
Cool, thanks!
Wow, I should totally do this with the hundreds of poor little broken crayons I have by the end of the year!
I love your ideas. You are very creative. I will use this idea for our Brownie Guide session. Thank you.
Made some of these yesterday and they turned out quite well. I am not sure however how to get the wax residue off my silicone “pan”. Any suggestions?